Creating a pro-looking video used to mean expensive software and a steep learning curve. Today, basic tools in video editing software can get you from raw clips to a polished post fast. If you’ve been trying to make social media clips, reels, or home movies, you probably have the footage, but not the editing workflow.
In 2026, many editors help you with AI auto-captions, smart scene picks, and one-tap fixes. For example, CapCut leans hard on simple editing and quick captions, while Clipchamp keeps making browser editing easier, especially for Windows users.
Knowing the core tools matters because you’ll stop “clicking around” and start shaping your video on purpose. Next, you’ll learn how the timeline, trimming, transitions, effects, text, audio, color, and export settings work together.
The Timeline: Your Central Workspace for Building Videos
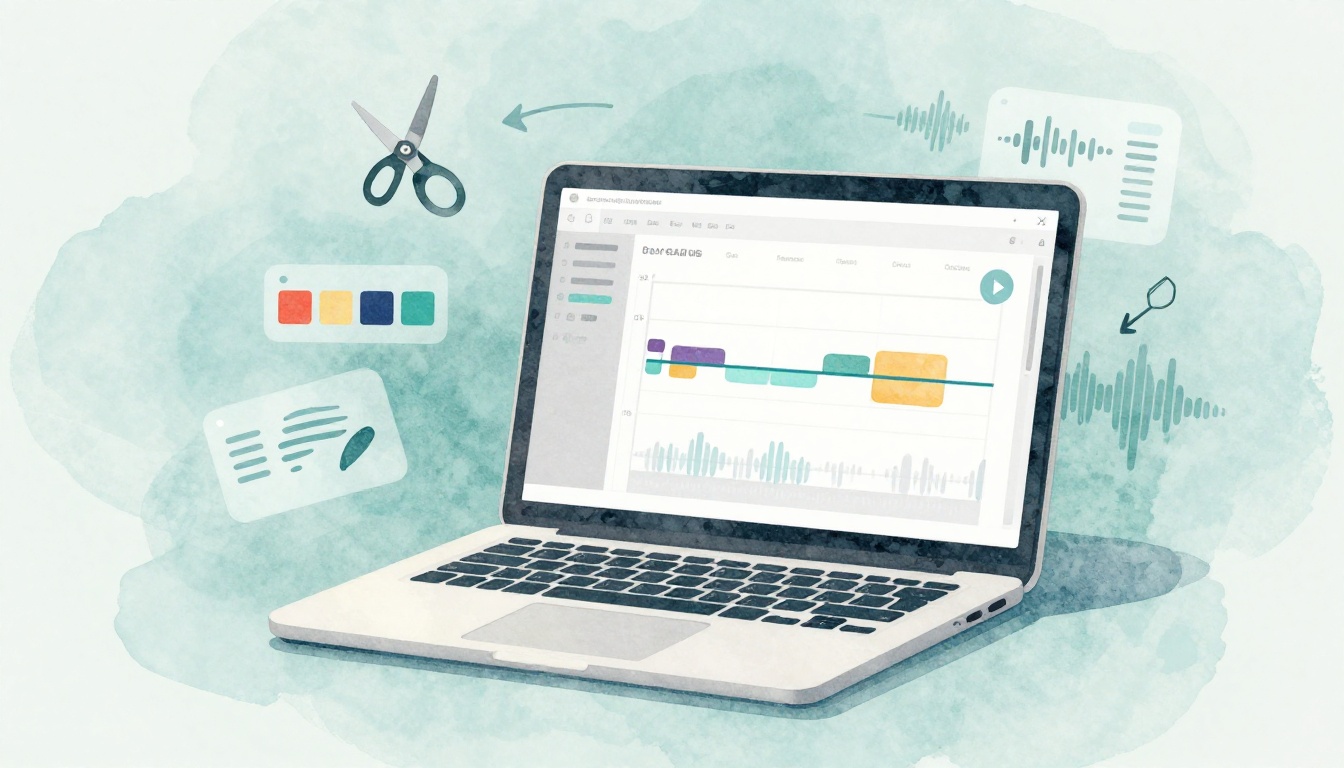
Think of the timeline like a storyboard you can edit. You don’t just watch clips, you arrange them in order and control how long each part stays on screen. Most beginner video editors show a timeline at the bottom, with your clips sitting along a line of time. Once you get comfortable here, everything else feels less confusing.
To add clips, you typically import footage, then drag it onto the timeline. From there, moving is usually simple: grab a clip edge to change where it starts, or drag the whole clip to shift it later. Many apps also let you zoom in and out on the timeline, so you can edit roughly at first, then fine-tune like a surgeon.
Another big concept is multiple tracks. Tracks let you layer video and audio. For instance, you might place your main footage on the top track, then add B-roll on a track above it. You can also drop music and voice on separate audio tracks, so you don’t mix everything together by accident.
In CapCut, the layout feels friendly and mobile-first. You can often select clips, tap to trim, and rearrange sections without digging through menus. In DaVinci Resolve, the Cut Page is designed for quick edits, so you can move clips with less friction when you’re trying to shape a rough cut fast. In both cases, the timeline remains the “home base.”
In 2026, some editors also use AI-assisted arranging. That might mean the app suggests a better order, places moments automatically, or helps you generate captions with fewer steps. Still, you’ll get better results when you understand the timeline first, then let the AI do the speed work.
If you want a quick visual walkthrough, this beginner CapCut tutorial for beginners shows how the timeline, trimming, and captions come together.
Start simple. Use one video track at first, then add layers once your pacing makes sense. After all, a timeline is only chaos if you don’t give it a plan.
Navigating Tracks and Layers in the Timeline
Tracks can look intimidating until you realize they’re just “levels.” Video tracks control what viewers see. Audio tracks control what viewers hear. Effects and overlays can also live on tracks, depending on the editor.
Here’s the basic mental model: if you stack layers, the top layer can cover the bottom layer. So if you place text on top of your footage, the text appears. If you put a reaction clip above your main video, the reaction shows too.
Some apps keep tracks simple. For example, iMovie often makes it feel like there’s one main layer, with extra items that “just work.” Other editors, like Filmora, give clearer guided layering options when you add overlays, picture-in-picture, or multiple sound sources. Either way, the goal stays the same: separate your elements so edits don’t break everything.
A beginner mistake is moving the wrong layer. For that reason, learn to lock tracks. When a track is locked, you can’t accidentally drag it while trimming another clip. Once you lock your text layer and music layer, editing feels calmer.
Also pay attention to track types. If your editor uses separate audio tracks for music and voice, keep them separate. That separation makes mixing easier later, especially when you adjust volume, add fades, or remove noise.
In short, layers help you treat your video like a mix of components, not one lump of media.
Zooming and Scrubbing for Precise Control
Zooming and scrubbing are how you make edits feel intentional. When you’re cutting on exact moments, the timeline needs to get close enough to see the details.
Zoom tools let you expand your view. At full zoom out, it’s easy to rearrange big chunks. At close zoom, you can line up the playhead with a frame, then cut right at the moment the action changes.
Scrubbing means dragging the playhead left and right to preview quickly. Instead of hitting play every time, you skim through the clip and find the exact point you need. That’s where pacing gets good. You stop letting long pauses slip in.
Most editors also support keyboard shortcuts for playback and fine edits. In Premiere Elements, for instance, JKL controls often help you move through footage efficiently: J for reverse, K for pause, L for forward. Even if you’re not using Premiere Elements, the idea is the same. Fast preview makes editing less painful.
So when you’re looking for a cut point, try this workflow. First, zoom in. Next, scrub to the moment before the action. Then, make the cut, and scrub again. This loop keeps your editing clean.
Precision doesn’t mean perfection. It means your cuts support what viewers are watching.
Trimming and Cutting: Shape Your Clips Without Losing Quality
Trimming is the art of removing what you don’t need. Cutting is how you break up long clips into better sections. Together, they create pacing, clarity, and focus. If the timeline is your desk, trimming is the knife.
Most editors include a few core trimming actions:
- Trim or razor cuts let you shorten a clip by cutting off the start or end.
- Split or blade edits let you divide a clip into two parts.
- Ripple delete removes a section and pulls the rest of the timeline together, so you don’t leave awkward gaps.
A key idea for beginners is non-destructive editing. That means you’re not permanently ruining your original footage. You change what the editor plays, not what the source is. In 2026, this has become more consistent across beginner tools, so you can experiment safely.
In CapCut, trimming can feel extremely simple. You might grab a handle, tap to trim, and move on. In Shotcut, you may enjoy more control on desktop, including support for many formats without converting everything first.
To build good habits, focus on the first pass only. Remove obvious dead time. Then watch again. After that, refine your cuts with zoom and scrubbing.
Here’s a beginner-friendly tip: use your ears and your eyes together. If your audio has a breath, a sentence ending, or a beat drop, cuts often work best right at those points.
Also, don’t be afraid to split. If one clip has two different moments, split it. Then trim each part separately. Your pacing will improve instantly.
If you want a simple playback workflow, try learning playback shortcuts early. Many editors use variations of JKL, and that helps you find good moments faster.
Blade Tool and Split Edits for Quick Changes
The blade tool is for instant cuts. You click where you want the cut, and the clip splits there. It’s fast, and it works well when you know the exact moment you want.
Split edits are similar but often used in a more workflow-friendly way. You might set an in point and out point, or you might split when audio doesn’t match video anymore.
This matters because mismatched audio can ruin a clip even when the visuals look fine. If you record audio in one take but your camera angle changes, splitting lets you align the right part of sound with the right part of video.
In some tools, you’ll also see AI-assisted splits. For example, certain editors can detect speech patterns or scene changes, then suggest where to cut. Still, you should review the result. AI is helpful, but your final taste matters more.
Transitions, Effects, and Text: Add Style and Message to Your Videos
Once your clips are in the right order and trimmed well, you can add personality. Transitions, effects, and text do three different jobs.
- Transitions connect clips (like fades).
- Effects change how the image looks (like slow motion or filters).
- Text delivers information (like captions, labels, or titles).
For social media, these tools are what turn a plain video into something people pause for.
In CapCut, social templates often guide you toward good timing and styles, especially for short-form posts. In Filmora, AI trends show up as auto effects and quick enhancements that help you clean up footage without heavy settings work.
Most of the time, adding any of these is simple. You drag the element to the timeline, choose a duration, then preview. After that, adjust it like you would adjust trimming.
However, don’t overdo it. If every clip has a wild effect, nothing stands out. Instead, let effects support the story.
Smooth Transitions to Connect Clips Seamlessly
A good transition feels invisible. It guides the viewer, not distracts them.
Common transition types include:
Crossfade, where one clip blends into the next. Zoom transitions, where the camera “pushes” into the next shot. Fades, where the screen dims before the next clip.
Custom duration matters. A transition that lasts too long can slow the video down. A transition that’s too short can feel abrupt.
Also, consider content. If you’re cutting between two calm shots, a fade might fit. If you’re cutting between fast actions, a quick cut or short zoom can work better.
When you pick transitions, preview them in context. Watch the full minute, not just the two clips. That’s when you’ll notice patterns and pacing issues.
Fun Effects and Filters to Boost Visual Appeal
Effects are the “color and motion” tools. They can add style, fix problems, or highlight moments.
Beginner effects often include: Brightness and contrast adjustments. Filters like vintage or cinematic tones. Motion effects such as slow motion.
In 2026, more editors also support AI-based features like background removal and object cleanup. That can save time, especially if your subject moved away from a messy background.
That said, start with one change at a time. If you stack too many filters, your video can look artificial. Instead, pick a look, then keep it consistent.
If you want more structured learning for effects and the full workflow, this Filmora beginner guide for editing gives a clear starting point.
Text Overlays and Captions for Clear Communication
Text is where editing becomes communication. Titles tell viewers what to expect. Captions keep people watching when sound is low.
For beginners, the easiest win is captions. Many apps now add auto-captions with decent accuracy. In CapCut, AI auto-captions can speed things up, especially when you’re working on mobile. Clipchamp also leans into simpler editing for Windows users, and captions fit right into that faster workflow.
Next comes text overlays. You might add: A short label for a key point. A location tag for a travel clip. A callout for a product moment.
When you style text, focus on readability. Use high contrast. Keep text short. Place it where it doesn’t cover important faces.
Also, don’t ignore accessibility. Subtitles can help everyone. They also keep your message clear even if the audio drops out.
If you’re specifically learning text overlays in CapCut, this guide on a CapCut text overlay for beginners can help you avoid common mistakes.
In short, text isn’t decoration. It’s meaning.
Audio Tools and Color Correction: Polish Sound and Looks
Good editing isn’t just visual. Audio and color make your video feel finished.
Audio tools usually include volume controls, fades, and music syncing. Color correction tools include exposure, white balance, and quick looks. In 2026, AI also helps with noise reduction, voice enhancement, and faster color fixes.
Start with audio first. If your sound is harsh or too quiet, people won’t trust your video. After audio sounds right, move to color.
Mixing Audio Tracks for Balanced Sound
Mixing is where most beginners struggle. They add music, then forget it fights with voice.
Your first goal is balance. Voice should be clear. Music should support the voice, not win the battle.
Many editors let you: Adjust volume per clip. Add fades at the start and end. Detach or unlink audio from video. Use basic EQ controls (sometimes hidden, sometimes simple).
A strong workflow is to set voice levels first. Then add music at a lower level. Finally, tweak again after you preview the whole section.
If your editor offers noise reduction, use it gently. Over-cleaning can make voices sound robotic. Instead, reduce enough to remove obvious hiss, then listen.
Also watch for clipping. If your audio peaks too high, it distorts. Most editors show indicators when levels get too loud. Aim for clean peaks, not constant red.
When you mix well, your edits feel smoother even if your video cuts are basic.
Simple Color Grading to Make Videos Pop
Color correction often feels intimidating. Luckily, you don’t need advanced tools to improve a lot.
Most editors provide sliders like: Exposure (brightness). Contrast. White balance (warm vs cool).
Once those basics look right, you can add a look. Some editors also include LUTs (preset looks). LUTs can speed things up, but you still need to adjust intensity.
A helpful workflow is to compare before and after. Many editors show a preview toggle or a side-by-side view. Use it so you don’t overdo saturation or make skin tones look strange.
Also, match shots. If one clip looks warmer than another, viewers notice. With color correction, you can bring clips closer so the video feels like one scene.
If you do nothing else, fix exposure first. Then adjust white balance. That alone can make your video look more professional.
Exporting Your Video: Choose the Right Settings for Any Platform
Export is the last step, and it’s easier than people think. Still, the right settings matter. Export too low, and your video looks blurry. Export too high, and your file might be too big for the platform.
Most platforms prefer MP4 with H.264 encoding. For beginners, 1080p is a common sweet spot. If your footage is already high quality, you can export higher. If it’s meant for quick social posts, 1080p is often more than enough.
Bitrate controls quality and file size. A higher bitrate usually means better detail. However, it also makes files larger.
Here’s a simple way to choose settings based on where you’ll post.
| Platform | Typical Upload Format | Suggested Resolution | General Goal |
|---|---|---|---|
| TikTok (vertical) | MP4 | 1080p | Crisp captions and motion |
| Instagram Reels | MP4 | 1080p | Clear faces and readable text |
| YouTube | MP4 | 1080p or 1440p | Balanced quality over size |
| Facebook/Shorts | MP4 | 1080p | Fast upload, solid clarity |
Many editors include presets for common platforms. CapCut, for example, often supports vertical formats for TikTok. When you use a preset, you avoid common mistakes like the wrong aspect ratio.
Also, check your audio one last time after export. Sometimes levels look fine in editing, but they feel different after encoding.
Finally, watch for watermarks. Free versions can add them, and that might not match your posting goals. If you’re using free tools, export and test once before you commit.
If you want help comparing free options, this list of best free video editing software in 2026 can help you pick one that fits your needs.
Conclusion
You started with raw clips, but now you know the real foundation: the timeline, trimming tools, transitions, effects, text, audio, color, and export settings. Each tool has a job, and they work best when you use them in order.
Once you get comfortable, editing gets faster. That’s especially true in 2026, where AI helps with captions and cleanup, but your timing and taste still matter most. Start video editing basics today with a free app like CapCut or Clipchamp, then edit one short clip from start to finish.
What part do you want to improve first, your cuts, your captions, or your sound?