You’ve seen it. A video starts with random shots, then jumps again and again. Viewers bounce fast because they can’t tell what matters next.
Now think about the opposite. The clips build on each other, so your audience feels guided. That’s what arrange clips to tell a clear story really means. It creates emotional pull, keeps attention, and makes it easier for people to share.
The good news is you don’t need a complex plan or fancy effects. You just need a simple process: plan first, organize second, arrange for flow, and refine after you see the result. Start with your story structure, then turn it into a timeline your eyes can trust.
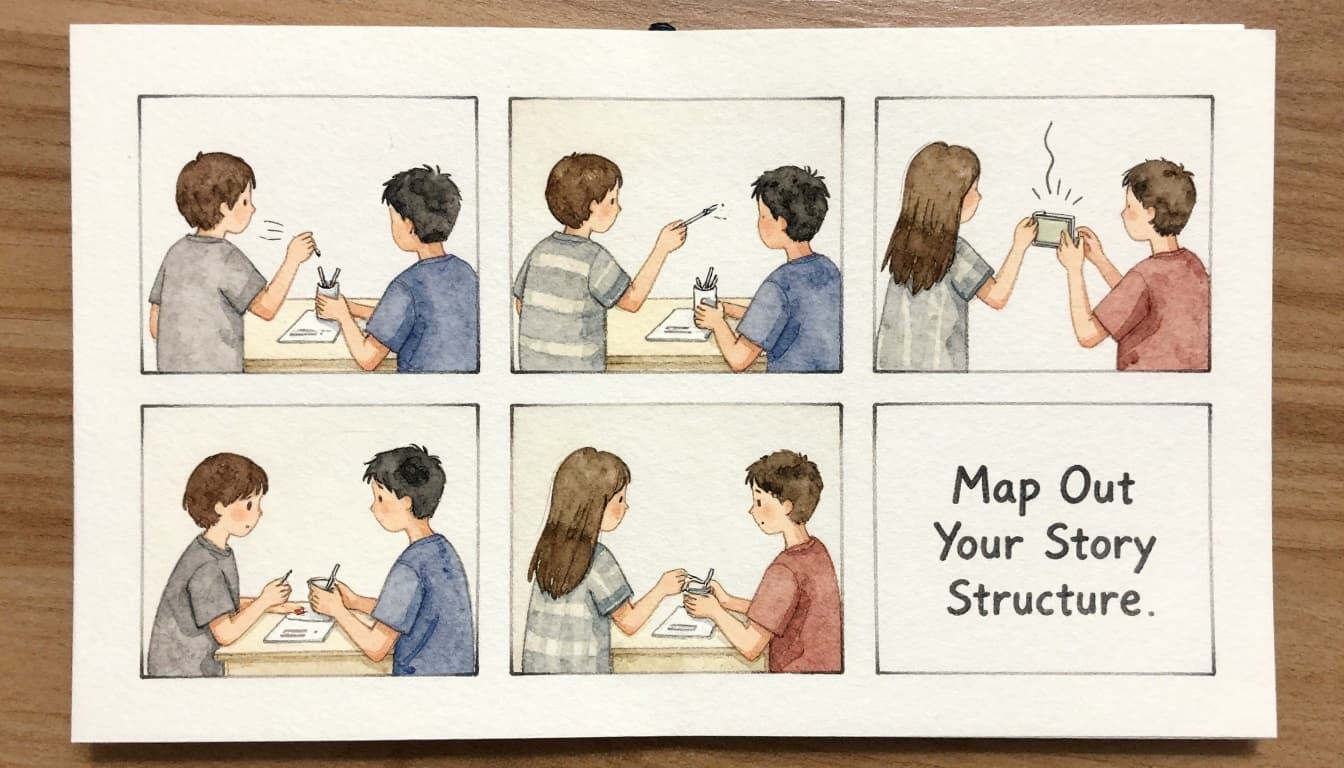
Map Out Your Story Structure First
Before you touch your editor, map the story in plain language. Editing without a plan often turns into guesswork. You’ll switch clips around, second-guess pacing, and still feel “off” at the end.
A simple storyboard does two jobs at once. It gives you order, and it exposes gaps. If you’ve never used one, start with 3 to 6 scenes. Each scene should answer one thing: what happens, and why should your viewer care?
This approach matches what storyboard guides emphasize, like a scene-by-scene plan from Boords storyboard step-by-step. Even if you don’t draw, the structure helps you think like a viewer.
Here’s a clean way to outline your video:
- Beginning (problem or promise): show what’s wrong, missing, or at stake.
- Middle (steps, proof, or tension): explain, test, or build to a “wait, what?” moment.
- End (payoff + action): resolve it, then tell viewers what to do next.
If your video is short-form, keep it even tighter. Recent 2026 trends lean toward a shorts-plus-anchors style. Quick clips earn attention, while longer videos build trust. Either way, story beats still rule.
A quick tip: pick one key idea for the whole video. When you try to cover five ideas, your timeline gets messy.
Craft a Hook That Grabs in Seconds
Your first clip is like the door to your story. If it doesn’t open fast, people won’t stick around.
Aim to grab attention in the first five seconds. Use something active, not passive. Try one of these hook types:
- Surprising result (show the final moment first)
- Direct question posed on camera (short and clear)
- Action shot (hands working, something changing, a reveal)
For a tutorial, show the outcome before the steps. For a story, show emotion first. For an opinion post, show the moment you decided you had to say something.
Also think about clarity. Your hook clip should answer at least one question: what’s happening, and what’s in it for me?
Here’s a simple hook formula that works on most feeds:
Context in 1 second + action in 3 seconds + promise of payoff.
If your hook includes dead time, cut it. Dead time feels like slow texting. Your audience notices.
Shape the Middle to Build Interest
The middle is where many videos lose people. You may have great footage, but if it doesn’t move, the story stalls.
To keep interest, make each clip do a job. One clip should add new information. Another should raise stakes. Another should confirm progress.
When you edit, keep clips short for rhythm. For many social videos, that means 15 to 60 seconds per clip segment. If you want longer, then change what the viewer gets every few seconds, like a new angle, a quick demonstration, or a fresh example.
A practical method: “one problem, one proof, one step.”
Show the problem, then show evidence (a test, a screen capture, a before-and-after), then show the fix.
If you’re sharing a customer story, use moments that escalate. Start with the “before.” Then show the friction. Then show the solution working. Finally, show what life looks like after.
Also, match the middle to your hook. If you promise a result, the middle should lead there step by step.
Plan a Punchy Ending with Action Steps
A clear ending doesn’t just stop. It pays off.
Decide what “win” means for your viewer. Then land the last clip on that payoff. If you end with a random smile or a blank stare, people feel the story didn’t finish.
Most endings need two parts:
- The payoff: what changed because of your idea.
- The action: what to do next, now.
Your action can be simple: “subscribe,” “try this,” “download,” “watch part two,” or “comment your result.” Make it match the video topic. A cooking video can ask viewers to share their batch. A finance video can ask what they’re stuck on.
Try this ending structure:
Reveal the result → recap in one sentence → CTA.
If you want better shares, end on something people can respond to. A strong ending invites a comment.
Organize Clips So Editing Feels Easy
Once your story outline exists, organization turns from a chore into a time saver.
Start by sorting raw footage by type and story part. When you can find what you need in 10 seconds, your edits get faster and cleaner. When you can’t, you’ll keep scrolling through clips you don’t need.
As a bonus, good clip organization also helps if you later repurpose. Many creators cut a long master into smaller posts. If your library makes sense, repurposing gets easier.
Consider a clip library workflow like build a clip library. Even if your tools differ, the idea stays the same: group by purpose, then build your timeline from those buckets.
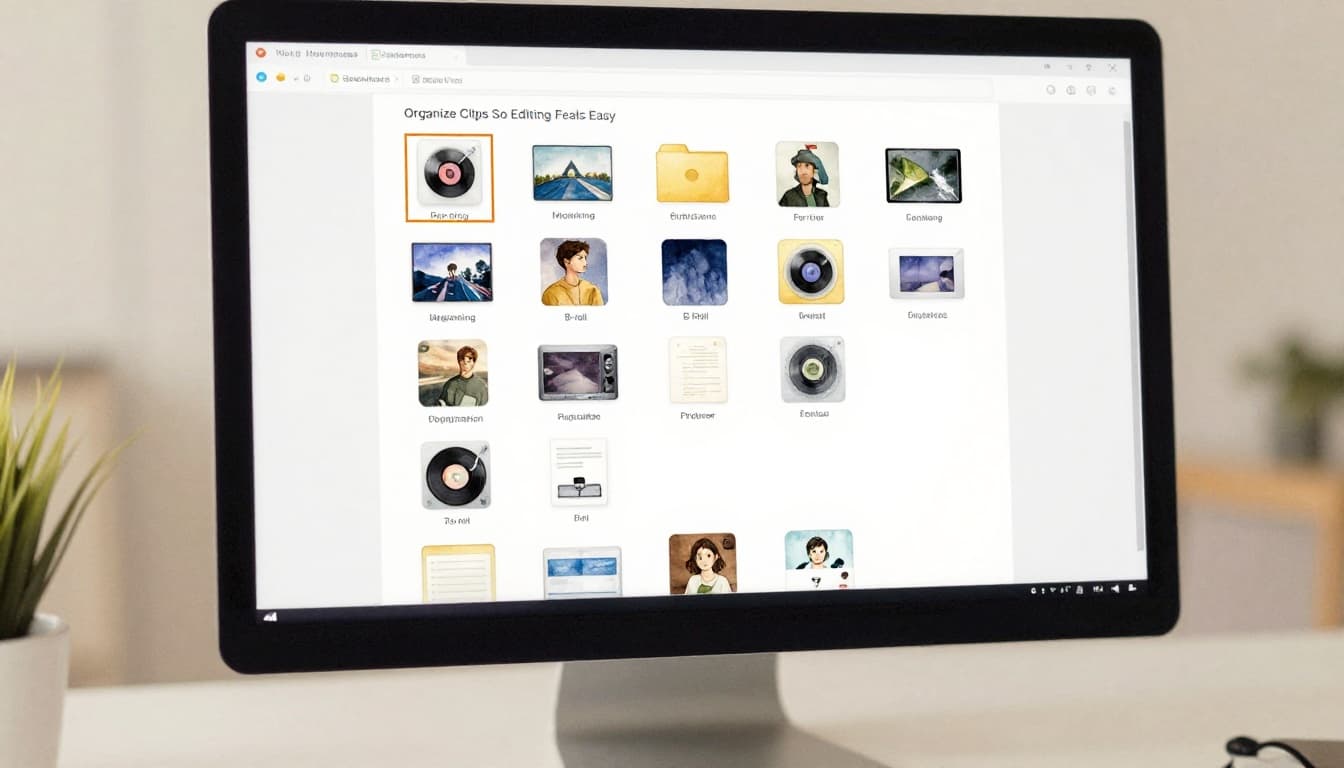
Sort into Folders by Type and Story Part
Create folders that mirror your outline.
For example:
- Beginning (hook shots, problem setup, cold open)
- Middle (steps, examples, proof clips)
- End (results, recap lines, CTA moments)
Inside those, separate footage by type:
- Talk-to-camera clips
- B-roll clips
- Audio (voice, music, sound effects)
- Graphics (text cards, logos, screen shots)
Also label clips with short, clear names if your editor supports it. “Hook 1” beats “VID_0423.” It’s faster for you, and your future self will thank you.
Then do one more important thing: delete obvious junk early. Blurry takes and empty frames waste time later.
Pick Top Clips That Fit Your Plan
Now you choose. Not every usable take makes it into the story.
Pick variety so the viewer stays awake. Use:
- Wide shots for context
- Medium shots for action
- Close-ups for emotion or key details
Cut mistakes early. Fixing problems in post takes longer than re-selecting a better take. Also remove pauses at the front of clips. Those tiny starts add up.
A great rule: for each story beat, choose one hero clip and one backup. If the hero doesn’t fit after you place it, switch to the backup fast.
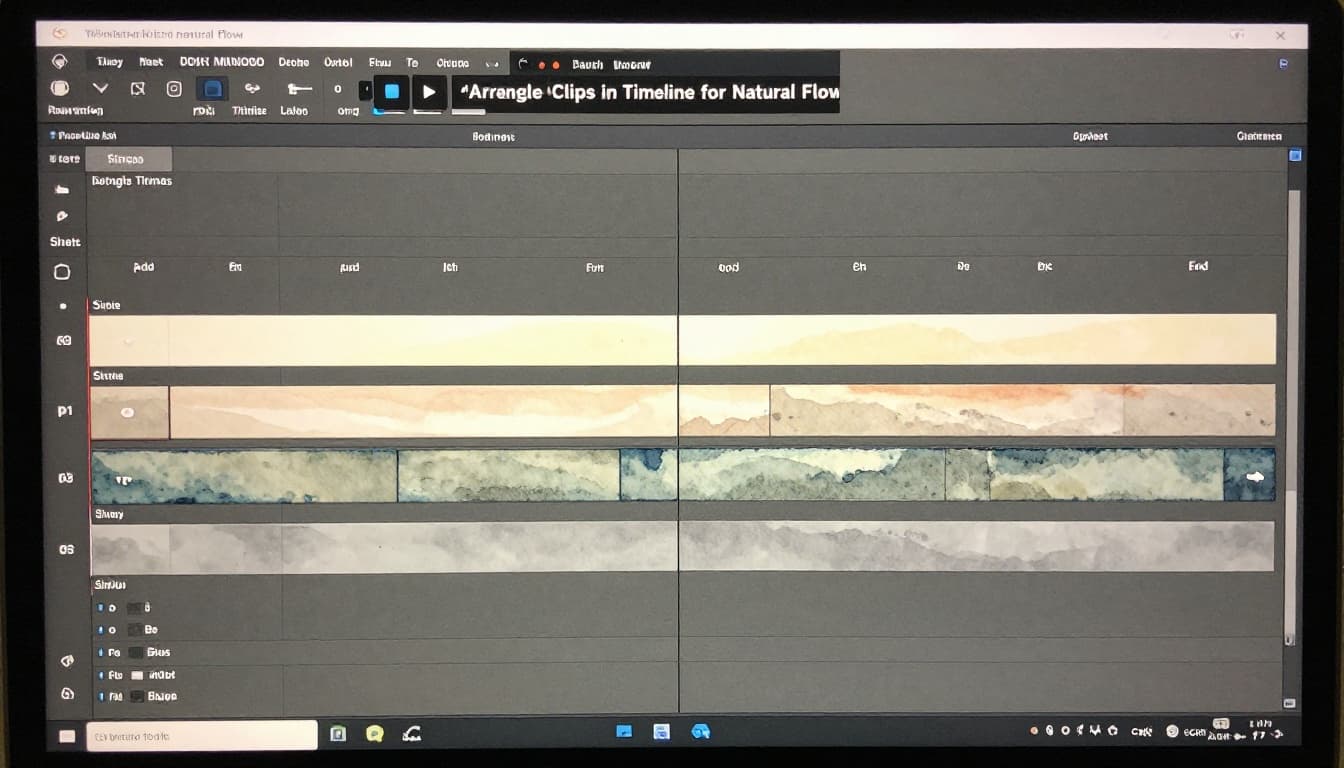
Arrange Clips in Timeline for Natural Flow
With your best clips chosen, you can now build the timeline like a story, not a random playlist.
Start with a rough cut. Put your beginning, middle, and end in order. Don’t chase perfection. Chase order and clarity.
Then focus on flow. Match actions across cuts. Follow eye lines. Use B-roll to bridge jumps. Add simple transitions only when they help.
If you want pacing guidance, timelines matter a lot in editing decisions. You can review a practical overview at understand the role of timelines in editing. The key takeaway is simple: your timeline is your story map.
Lay Down Your Rough Timeline Fast
Drag clips in order and stop when the story makes sense.
Do this before trimming. Trimming while the order is still wrong wastes effort.
While building, ask one question: “Does each clip move me forward?”
If it doesn’t, replace it or shorten it.
Also keep your pace honest. If your viewer must wait for the next idea, you’ll lose them. Cut long lead-ins, then add the detail after the viewer understands the goal.
A rough timeline should feel like a draft book. It’s readable, not polished.
Cut on Action for Seamless Jumps
Cuts feel smooth when the viewer sees continuous motion.
Cut on action when something moves across frames. For example, someone turns their body, walks into frame, or picks up an object. Use the moment the motion changes to switch clips.
This trick hides the edit. It also keeps energy high.
If you cut on a still frame, your viewer notices the jump. It breaks the spell.
When you’re unsure, extend the first clip by half a second, then cut as the action lands in the next clip.
Layer B-Roll and Music to Glue It Together
B-roll is your secret editor’s tool. It covers transitions and adds meaning.
Place B-roll over hard cuts. For example, if you switch from one talking point to another, insert a short shot of what you’re discussing. It keeps momentum and reduces visual repetition.
Music also helps pace. If you cut on music beats, your video can feel more confident. Keep the music under your voice. Then use small sound effects for emphasis, like a click, a whoosh, or a subtle room tone shift.
Also remember this: many people watch without sound. In 2026, captions still matter because silence is common. Your timeline should include text plans early, not at the very end.
Polish Every Detail for Crystal Clear Impact
Now you make the story easier to follow.
Polish is not about making it fancy. It’s about removing confusion. That means trim pauses, clean audio, and add support text when needed.
When you polish, watch on your phone first. Phone viewing shows clarity problems faster than a laptop preview.
Also, do a quick “fresh eyes” test. Send it to one friend who doesn’t know your script. If they get lost, fix that part.
Trim Fluff and Add Captions
Cut anything that doesn’t change the story.
That includes:
- long greetings
- repeated points
- background talk
- “um” moments that don’t add value
Then add captions. Captions help people who watch muted. They also improve readability for anyone in a noisy place.
If you want a reference for fast caption workflows, see auto-caption polish videos. Use it as a starting point, then still review timing. Bad timing can distract more than no captions.
As you trim, watch the subtitle rhythm. If captions jump too fast or lag behind, adjust the edit so it matches speech.
Captions aren’t just access. They’re part of your pacing.
Mix Shot Types for Visual Pop
Finally, vary visuals so attention stays high.
If your video is mostly talking heads, add visual breaks. Use B-roll, show the product, or switch to a screen view. Then return to camera when you need emotion.
Use wide shots when you need context. Use close-ups when you need meaning. Medium shots fill the gap.
Also, avoid using the same shot size back-to-back. Even if the content is good, repeated framing feels slow.
When you finish, rewatch from start to finish without editing. If anything feels unclear, cut it down, then add the missing context.
Conclusion
You started with a simple hook plan, then you organized clips by purpose. Next, you arranged them in timeline order that matches your story beats. Finally, you polished with captions and clean pacing.
Here’s the strongest takeaway: every clip needs to move the story forward. When you judge footage by what it does for the viewer, your edits get clearer fast.
Now pick your next video draft and rearrange it using your beginning, middle, and end. Then ask one question as you watch: “Do I always know what happens next?” After that, share your result and invite feedback in the comments.