Want your phone videos to look like you spent way more than you did? You’re not imagining it. In 2026, modern smartphones can capture seriously sharp footage. The trick is using the right settings, good light, and clean audio.
Most people blame their phone. Usually, the issue is simpler. It’s focus, exposure, sound, or shaky framing.
This guide shows you how to record high-quality videos using your smartphone, step by step. You’ll learn camera settings, lighting, audio, stabilization, composition, accessories, and the most common mistakes to avoid.
Tune Your Smartphone Camera for Sharp, Pro-Level Footage
High-quality video starts with a boring truth: your phone can only work with what you feed it. If your image looks soft, too dark, or shaky, you can’t “edit it into perfection” later.
So before you hit record, set your camera up like a real camera. Start with resolution and frame rate, then lock focus and exposure. Also, clean your lens. Smudges look small to your eyes, but they ruin contrast on video.
Here are the key settings that matter most for sharp results:
- Shoot in 4K (or higher): Use UHD 4K at minimum. Higher detail gives you room to crop without wrecking the image.
- Pick the right frame rate:
- 24–30 fps looks natural for everyday scenes.
- 60 fps works great for fast motion and smoother motion.
- Lock exposure and focus: If your phone keeps “hunting,” your footage will look jittery. Lock them after you frame your shot.
- Avoid auto-everything: Auto exposure jumps when clouds pass or someone walks past a light.
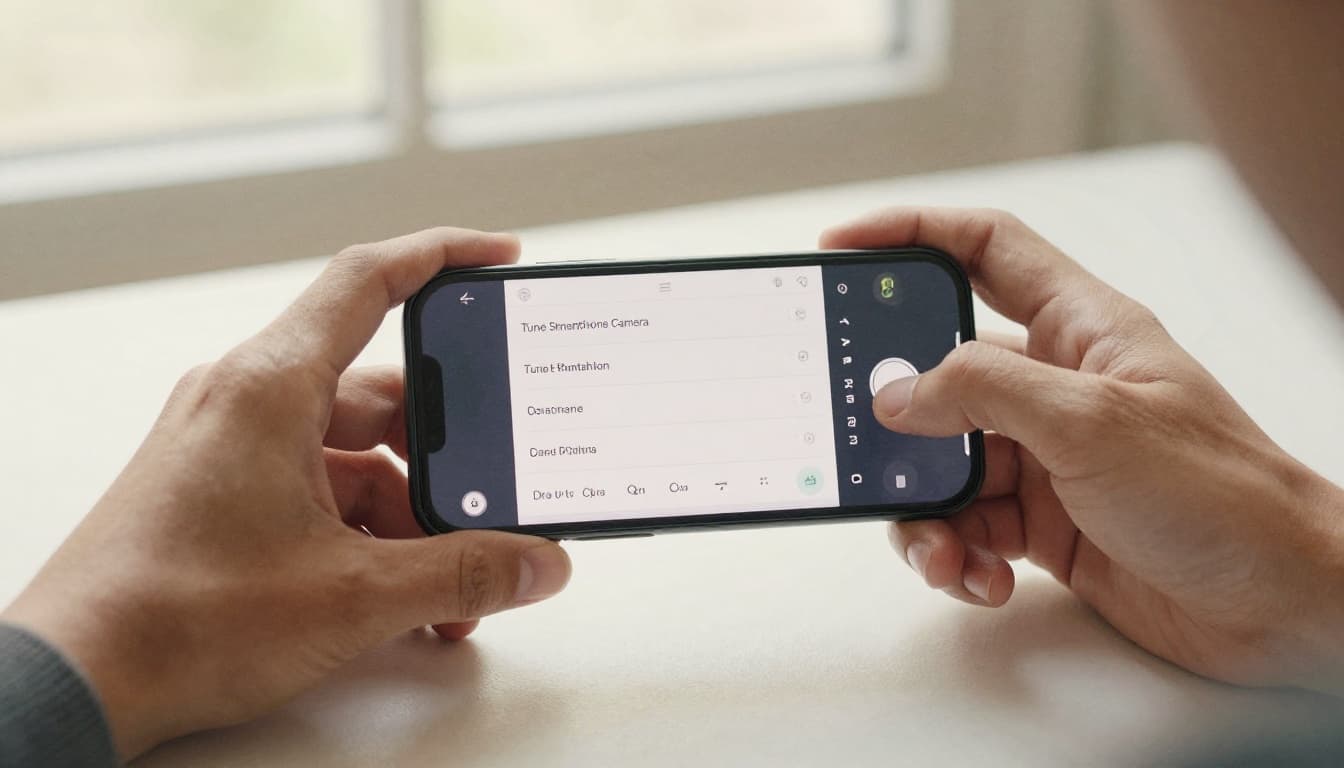
- Use a manual camera app when you can: If your built-in app feels limited, you’ll get more control.
If you want manual controls, Blackmagic Camera is a popular choice. It offers more options for focus, exposure, and monitoring tools than most phone apps. For a practical walkthrough, see a Blackmagic Camera app tutorial.
Finally, test one 10-second clip. Then check it before you start filming for real.
iPhone-Specific Tricks for Maximum Quality
iPhone users get a big advantage when they use pro recording formats. When you turn on Log or RAW-style capture, you gain flexibility in editing. That means you can fix highlights and shadows later without the “washed out” look.
Start with these pro options if your iPhone supports them:
- Apple Log: This flattens contrast so grading looks smoother.
- ProRes formats (when available): These keep more image data for post work.
- Better control inside pro apps: Apps like Blackmagic Camera can give you more monitoring tools for exposure.
If you want the clean reference for what Apple means by standard, Log, and RAW, check Apple’s guide on standard, log, and RAW video. It helps you understand what to expect when your footage looks less “pretty” straight from the camera.
Also, don’t ignore framing while you’re setting things up. Lock focus on your subject, then stand still. When you’re recording people, keep a consistent distance from the phone. Small distance changes can shift focus even with locking enabled.
Android Power Moves for Richer Colors and Detail
Android phones vary, but newer flagships often include pro video modes and log-style recording options. Samsung’s Pro Video features and codecs can help you avoid the “my video looks gray” problem.
On a phone that supports it, aim for:
- Samsung Pro Video Mode: This gives you more control over exposure and recording behavior.
- Samsung Log: This helps preserve highlight and shadow detail for grading.
- APV codec (when available): It’s designed for higher-quality capture and smoother post workflows.
If you use a Galaxy S26 Ultra and want official details on APV, use Samsung’s instructions here: APV on Galaxy S26 Ultra.
One practical tip: enable your pro mode before you start filming. Switching modes mid-clip can cause weird jumps in exposure or color.
Also, keep your ISO stable when possible. Higher ISO usually brings noise, which makes skin tones look rough. If your phone offers shutter priority, use it. Otherwise, choose a frame rate you can support in your lighting setup.
Light Your Videos to Make Them Pop Without Grain
Lighting is the fastest path to high-quality video. Even the best camera app can’t fight dim light. When you shoot in the dark, your phone boosts gain, and noise shows up.
Think of light like food. Your camera is the chef, but your lighting is the ingredients. Bad ingredients lead to a bad meal.
For most shoots, use one of these strategies:
- Shoot near bright windows when you’re indoors.
- Face your subject toward the light (not with the light behind them).
- Use soft light to reduce harsh shadows.
If you’re outside, aim for bright light with softer contrast. Midday sun is harsh. However, shade near open sky can look great.
Harness Natural Light for Free, Pro Results
Natural light works best when you control direction. Place your subject so the light hits them at about a 45-degree angle. This gives shape to the face without ugly shadow lines.
If you’re near windows, don’t stand right next to the glass and aim inward. Instead, move a little farther back and angle the phone slightly. You want even illumination across the subject.
Also, watch for reflections. Glass, mirrors, and shiny phone screens can bounce light and distract from your subject. If you see glare, adjust your position before you adjust your settings.
A quick rule: if the scene looks good to your eyes, it’ll look better on camera than a dim scene you “hope will work.”
Add Affordable Lights for Indoor Magic
When daylight isn’t available, use a small LED light. You don’t need a studio setup. One good light, positioned well, often beats three cheap lights thrown around randomly.
Two compact options people commonly choose are:
- Aputure Amaran F22c (small, budget-friendly)
- Godox M150 (easy to place, reliable output)
The key is positioning. Put the light slightly above eye level and angle it down. Then add a subtle fill with the environment, like a white wall or curtain. If you don’t have a fill, you’ll get deep shadows. If your wall is dark, move closer to a lighter surface.
Here’s a pro tip that saves time: tape the phone mount position and mark your light position with painter’s tape. Next shoot takes minutes, not an hour.
Capture Clear Audio That Matches Your Stunning Visuals
Great video isn’t just the image. Audio is the other half of “quality.” Most phone mics sound thin, and they pick up room noise.
If the audio feels off, people stop watching. That’s true for family clips and it’s also true for brand videos.
Don’t rely on the built-in mic unless you’re in a quiet room and your subject stays close. Instead, get the mic closer to the mouth. Even a small improvement in distance makes a big difference.
Wireless mics are often the easiest upgrade. Two popular choices:
- DJI Mic 3 (solid audio performance and simple setup)
- Rode Wireless Go III (widely used, good clarity)
In addition, look for 32-bit float support if your gear offers it. It helps you recover tricky audio levels in post.
Before you record:
- Turn on Airplane mode to reduce interference.
- Make sure the receiver and transmitter have full battery.
- Do a 5-second voice test and listen back.
Quick Fixes with What You Have
No wireless mic yet? You still have options.
- Use a wired headphone mic as a hack. If your phone supports it, it can sound clearer than the built-in mic.
- Move closer. If your subject is farther than arm’s length, audio usually drops fast.
- Aim the phone right. Don’t block the mic with your palm. Also, avoid holding the phone by the mic side.
- Pick your spot. Record away from fans, AC units, and echoey bathrooms.
Also, keep your background in mind. If you’re outside near traffic, no mic can make chaos sound calm. Choose a quieter angle.
Keep Your Shots Steady and Smooth Like a Hollywood Pro
Shaky video screams “beginner,” even when the image is sharp. Stabilization isn’t about looking fancy. It’s about keeping your viewers focused on the story.
Start simple. Hold the phone with both hands, tuck your elbows in, and use your body for movement. If you’re panning, turn at the waist, not just the wrists.
Next, use a tripod or a stable surface when you can. If you can rest the phone on a table, you’ll instantly improve sharpness and framing accuracy.
Handheld Techniques for On-the-Go Recording
Handheld can still look pro. The trick is slow movement and strong grip.
Try this approach:
- Grip firmly but don’t clamp hard. Tension makes micro-shakes worse.
- Breathe naturally. Hold your breath for a long take and your hands will tremble.
- Walk like you’re carrying something. Smooth steps reduce bounce.
If you want a cinematic feel, try a shorter take. Many creators chase long shots and end up with shaky motion. A clean 10 seconds beats a messy 45 seconds.
Also, use the phone’s stabilization modes if they don’t introduce weird warping. If you see an odd wobble around edges, switch it off and test again.
Gears That Make Shakes Disappear
For smooth pans and travel shots, a gimbal helps. Two popular smartphone options include:
- DJI Osmo Mobile 7P
- Joby GorillaPod (useful for flexible placement, especially when you can’t use a stand)
Gimbals work best when the phone is mounted securely and centered properly. If the phone feels loose, tighten everything before recording.
And don’t forget simple mounts. A small tripod plus a phone clamp can beat “freehand” for many situations. For example, interviews and product shots usually look best locked down.
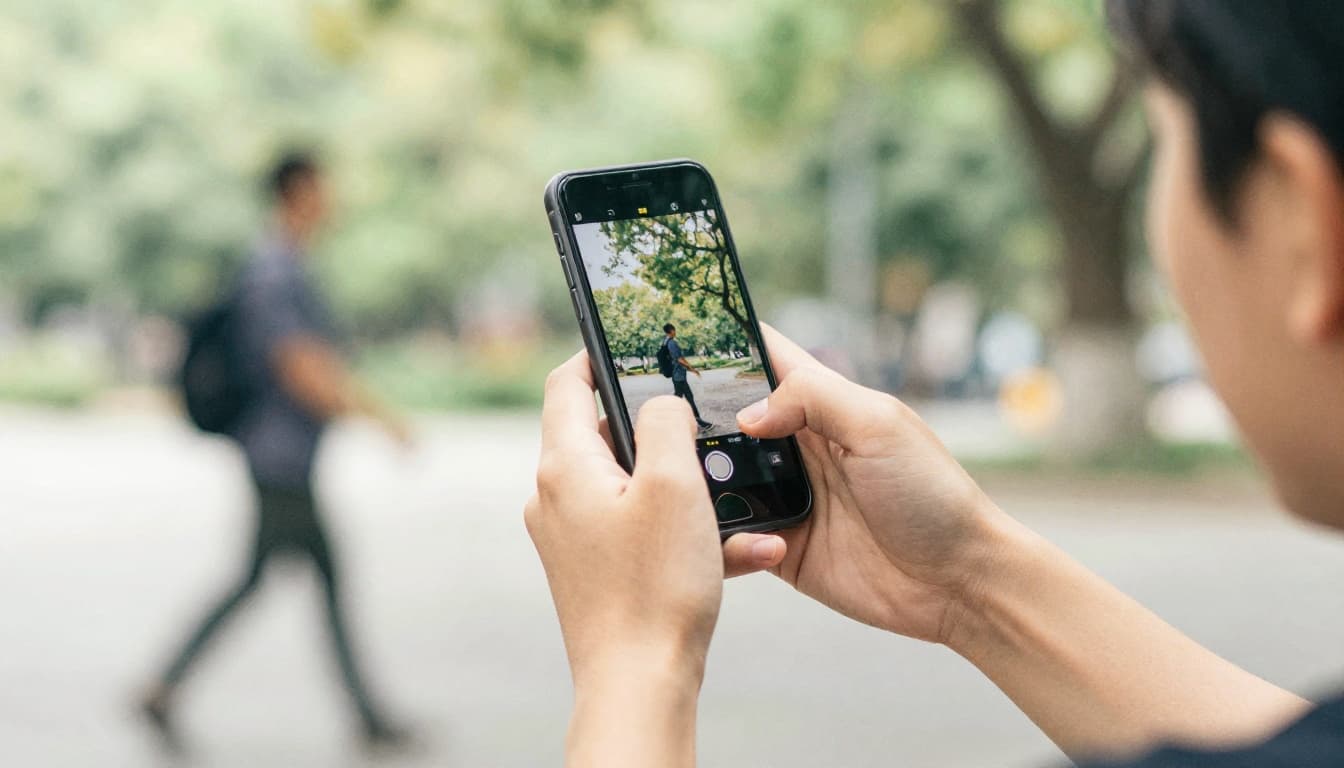
Frame Your Shots to Hook Viewers Instantly
A strong frame pulls people in within seconds. Your phone camera can capture crisp detail, but framing controls what viewers feel.
Ask yourself one question: what’s the main subject? Make it obvious.
Also, avoid the temptation to zoom in. Digital zoom usually reduces quality. Instead, get closer physically or use a lens accessory.
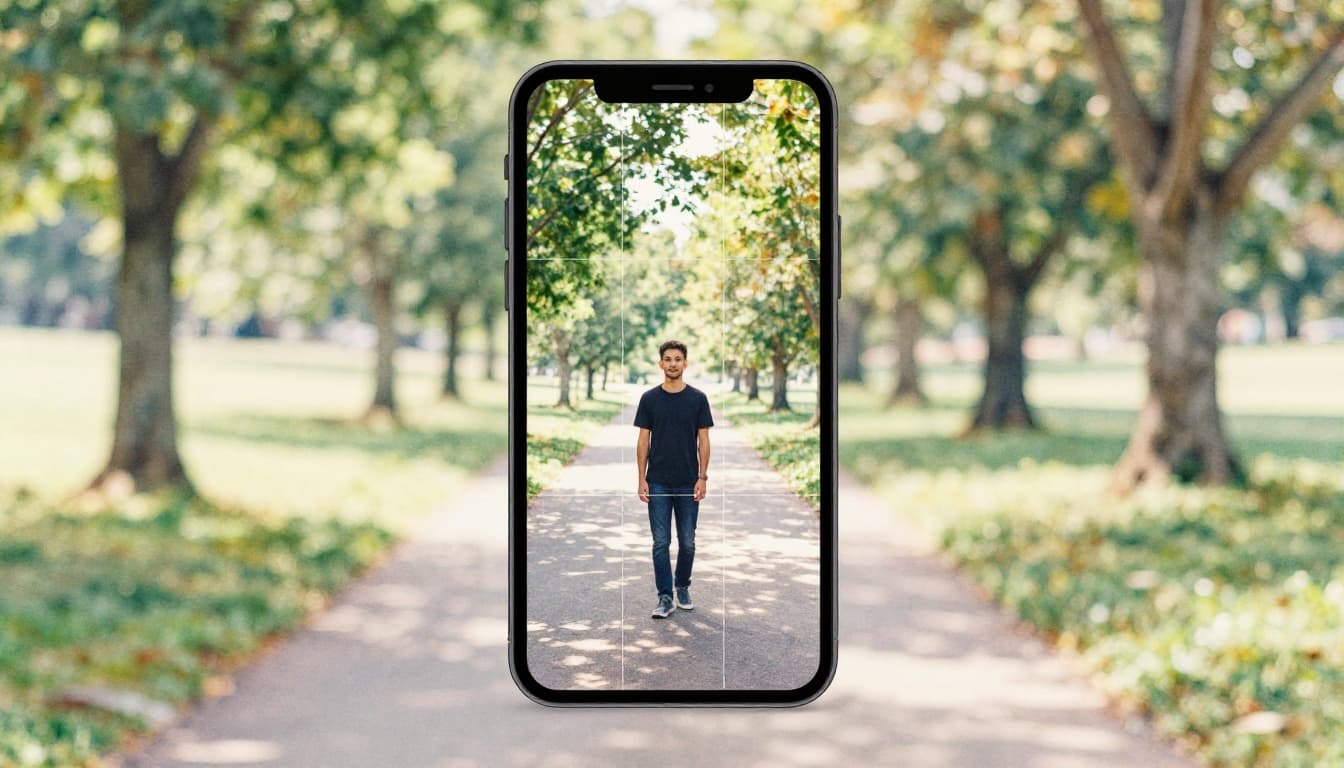
Apply the Rule of Thirds and Other Framing Secrets
Most phones let you turn on a grid overlay. Use it. Then place your subject near one of the grid intersections.
This creates balance. It also gives your shot room to breathe.
Next, look for “leading lines.” Paths, fences, and sidewalks can guide the eye toward your subject. You don’t need fancy camera moves. Even a slight angle shift makes your framing stronger.
Also, keep backgrounds simple. Stand away from clutter. If you can, move your subject instead of trying to “fix it later.”
Shoot Horizontal and Nail That Click-Worthy Thumbnail
For YouTube and many screens, horizontal video fits better. For social, vertical still wins. But either way, your final frame matters.
Plan a pose for your first moment. When viewers scroll, they see the thumbnail. If your opening frame is clear, your video earns the first click.
Here’s a practical habit: record 3 seconds of “intro pose” first. Then move into the action. It gives you clean starting frames and smoother editing.
One more tip: keep your subject away from the edge of the frame. Leave a little space so it doesn’t feel cramped.
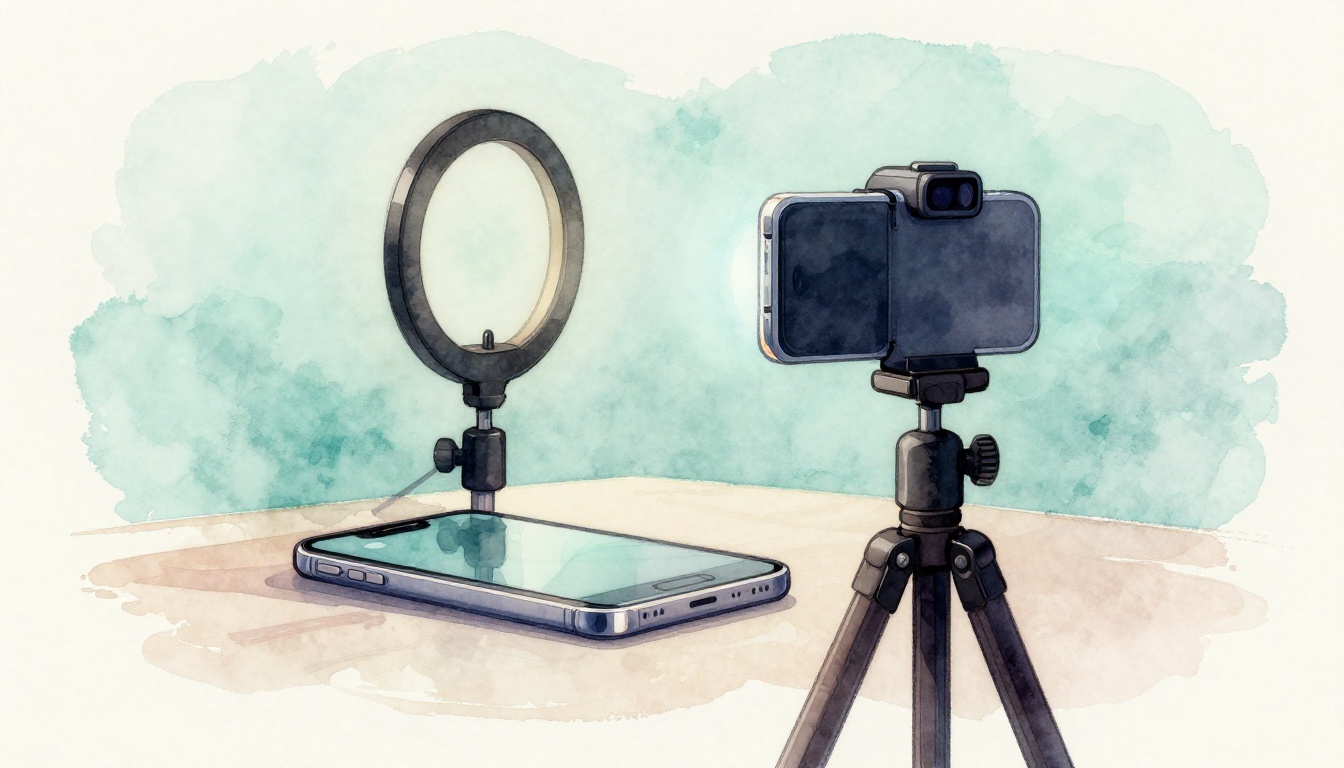
Gear Up with Top Accessories and Apps for Next-Level Videos
You can get pro results with a phone and good technique. But a few smart accessories can take you from “decent” to “wow.”
Start with this group:
- Stabilization: gimbal, tripod, or a stable grip setup
- Audio: wireless mic or close-range mic solution
- Light: small LED with adjustable brightness
- Storage: fast storage for longer recording
- Lenses (optional): wide or telephoto for variety
If you want ideas for phone filmmaking gear, browse Moment’s mobile filmmaking gear picks. It’s a good reference when you want a practical shopping list.
Now let’s talk apps. The best editing apps help you fix exposure, clean audio, and cut quickly. In 2026, many apps also add AI-assisted tools for captions, trims, and smoother motion.
| App | Best for | Standout features |
|---|---|---|
| Blackmagic Camera | Recording | Manual controls, pro monitoring |
| CapCut | Quick edits | Easy captions, fast workflow |
| LumaFusion | Mobile editing | Multi-track timeline |
| DaVinci Resolve | Color and polish | Strong grading options |
For recording, Blackmagic Camera is great when you want manual exposure and more monitoring tools. For editing, choose based on your time. Quick clips go to CapCut. Longer cuts often suit LumaFusion. If you want serious color work, DaVinci Resolve is a common choice.
Also, plan your workflow. Turn on 4K recording, then confirm you have enough storage. Use a fast drive like a compact external SSD when you need room for longer takes.
Finally, if you use external lenses, keep it simple at first. One lens you understand beats five lenses you never use.
Dodge These Beginner Mistakes for Flawless Smartphone Videos
Even with the right gear, beginners usually trip on the same issues. The good news is these are easy to fix once you know what to watch for.
Here are the biggest offenders:
- Shooting vertical when you need horizontal (or vice versa). Pick the platform first.
- Relying on digital zoom. Get closer or use a lens accessory.
- Filming in dim light and hoping “night mode” saves it. It won’t.
- Ignoring stabilization. Even a few seconds of shake stands out.
- Using bad audio. Built-in mics struggle with noise.
- Leaving exposure on full auto. Your footage can flicker as lighting changes.
- Forgetting lens cleaning. Fingerprints reduce sharpness fast.
Fixing these points improves your footage in one take. Then your edits become easier, because the base image is already strong.
Conclusion
You can record high-quality videos using your smartphone without spending like a studio. Start by tuning your camera settings, then build your look with light and clean audio. After that, stabilization and framing make your video feel intentional.
Take one step today: lock focus and exposure before you record. Then do a quick audio test with your subject close to the mic.
Once you’ve got a better clip, share it and get feedback. What’s the first video you’ll remake with your new setup?