Watching a video where the lips don’t match the words is maddening, especially when it’s your own upload. That mismatch is usually an audio sync problem, also called AV sync. It happens when the video pictures and the sound do not line up.
Even a small drift can pull people out of the moment. Over time, the sound can get more wrong, or it can snap in and out. The good news is you can often fix audio sync in videos with a few practical checks and the right settings.
You’ll learn how to spot the issue fast, what commonly causes it, and how to fix it with free tools first. Then you’ll see more precise steps for pro editors, plus prevention tips so it stops coming back.
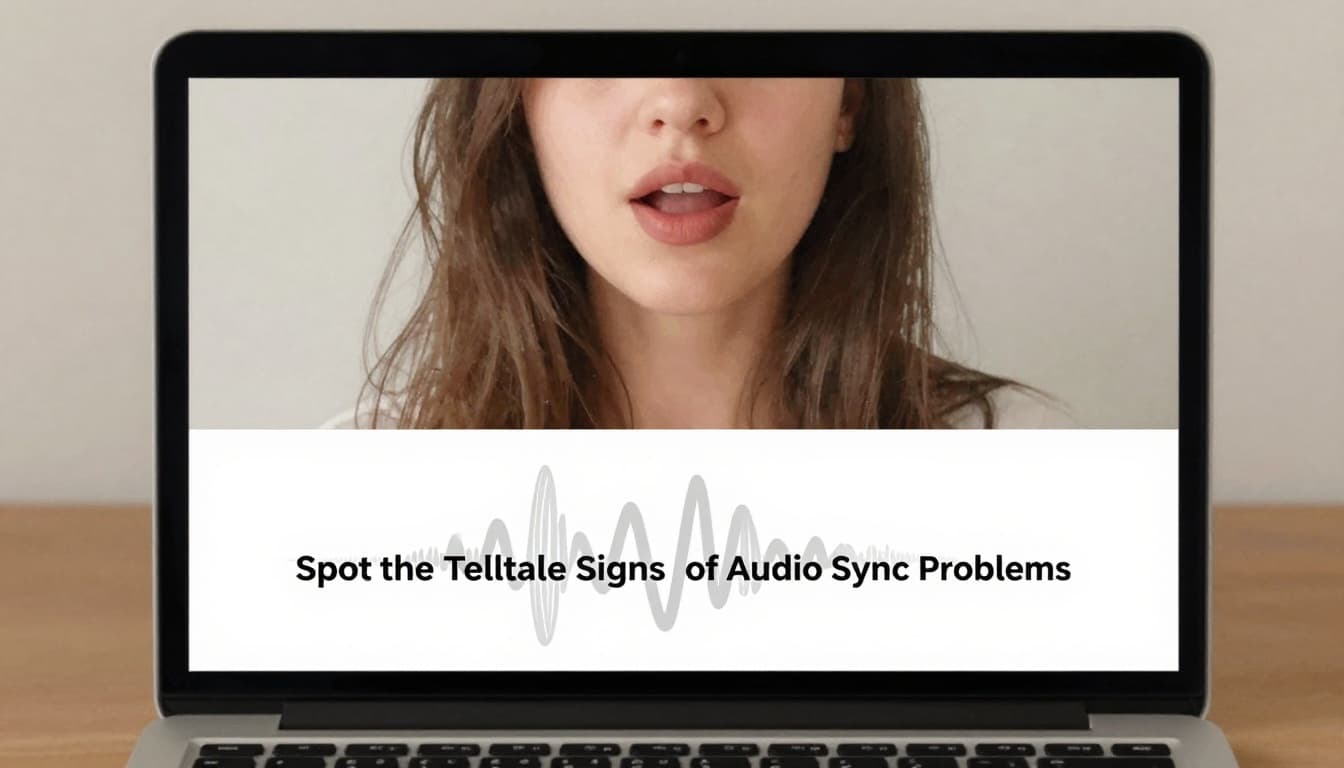
Spot the Telltale Signs of Audio Sync Problems
Audio sync problems show up in a few recognizable ways. Once you know what to look for, you can usually diagnose the root cause within minutes. Think of it like timing a clock, if one hand starts to drift, the whole view feels wrong.
Here are the most common symptoms and what they usually mean:
| Symptom in your video | Likely cause | Quick check | Best first fix |
|---|---|---|---|
| Sound feels wrong from the first second | Playback delay, monitoring lag, or export offset | Compare at the start of the clip | Adjust audio delay in VLC or your editor |
| Starts OK, then drifts worse by the end | Variable frame rate (VFR) or rate mismatch | Watch a long shot, not just a cut | Convert to constant frame rate (CFR) |
| Random “snap” in and out | Buffer hiccups (often with certain live setups) | Test the same file in 2 players | Re-export, or use a different playback path |
| Lips do not match words, especially speech | Frame rate or sample rate mismatch | Scrub around speech and consonants | Re-encode with 48kHz audio and matched FPS |
A quick real-world example: you record a phone video, then edit it later. The first sentence sounds fine. By the last sentence, the words arrive too late. That drift pattern often points to VFR (variable frame rate) footage.
To confirm your suspicion, test on more than one player. VLC is great for quick checks, and a browser upload preview can reveal different behavior too. If the sync stays wrong in every player, you likely have a file timing issue. If it only breaks in one environment, you might be dealing with a playback delay or settings mismatch.
This image shows what “off from the first frame” often looks like.
If you want a second opinion on symptoms to watch for, see Troubleshooting Audio Sync Issues in Video — Peasy Formats.
Most audio sync nightmares start with one simple question: did the timing change over the clip, or was it wrong right away? That answer points you toward the fix.
Uncover the Top Causes of Audio Sync Nightmares
Audio sync issues usually come from timing math going wrong somewhere. Sometimes the camera records in one timing style, while your editor assumes another. Other times, encoding and export settings shift the playback clocks.
Most problems fall into a few main buckets. And the trick is to match the bucket to your symptom.
1) Variable frame rate (VFR) from phones or screen records
Phones and screen recorders often save footage in VFR. With VFR, the frame rate can change slightly over time. Then your editor plays it as if it’s steady, and sound drift shows up.
You’ll notice this most in long takes. The first few lines feel close. Then the sync slowly slides off.
A simple way to confirm is to check file info in MediaInfo. Look for “frame rate mode” (VFR vs CFR). If it says VFR, treat it as the top suspect.
2) Sample rate mismatches (44.1 kHz vs 48 kHz)
Audio can also be “out of spec.” For example, if your audio is 44.1 kHz but the video workflow expects 48 kHz, timing math can wobble. This is common when you mix sources, like swapping in voice audio from another recording app.
You can catch this with MediaInfo too. Once you see the audio sample rate, you’ll know what your export should target.
3) Frame rate differences between camera and edit timeline
US creators often shoot at 29.97 fps, while some projects run at 25 fps or 30 fps, or vice versa. Even a small mismatch can create drift.
Here’s a helpful analogy: sound lag feels like sound traveling slower than light. The video keeps updating, but the audio clock and the video clock don’t agree.
4) Hardware glitches during capture or monitoring
Sometimes it’s not the file. It’s what you used to record or monitor. Bad cables, unstable USB connections, or dropped buffers can cause timing jumps. You might see “snaps” in and out, even when the timeline looks clean.
If your issue shows up mainly in a live capture workflow, try a different capture device, different cable, or a separate audio recorder.
5) Encoding errors during export or upload
Export settings matter. If you encode with the wrong frame rate mode, the sync can break again on re-import. Upload pipelines can also re-encode your file.
If you want a broad, 2026-style walkthrough of resync approaches, How to Resync Audio: A Complete 2026 Guide is one place to see the logic behind quick delay fixes.
Before you touch any settings, decide which type you have:
- Wrong immediately usually needs delay alignment.
- Wrong more over time usually needs CFR and rate matching.
- Snaps randomly usually points to capture or buffering.
Once you know the type, fixes get much easier.
Quick Fixes for Audio Sync Using Free Tools
Before you re-encode anything, try the fastest test: change the audio offset while watching lips or speech. This tells you if you have a simple constant delay.
Then, when you’re ready, fix the source timing so the video sync stays correct everywhere.
Here’s the order that saves time for most people:
- Quick check in VLC
- Confirm with MediaInfo
- Re-encode to constant frame rate (CFR) and 48kHz audio
- Test again in VLC, then export final
Adjust Audio Delay in VLC Media Player
VLC can shift audio timing in small steps during playback. It’s perfect for quick fixes and for measuring the offset you need.
Try this method:
- Open VLC and load your video.
- Go to Tools > Track Synchronization.
- Find the audio track delay slider.
- If your audio is late (lips speak first), try a positive delay. Start around +100 ms.
- If your audio is early, use a negative delay.
- Play until lips and words match.
- Note the value you used, so you can repeat it later in an editor.
This adjustment is great for testing. If you want a permanent fix, you usually need to re-encode after you confirm the correct offset.
Also, if you adjust delay and it helps right away, you’re learning something important: the problem is consistent timing, not a slow drift. That often means CFR is less urgent, but it still depends on your file.
You can also use keyboard shortcuts in VLC, depending on your OS build. The slider approach works for everyone.
This is what the workflow looks like.

If you’re working with phone clips, remember: VLC can make playback feel right, but it can’t always stop drift across edits. That’s why the next step, CFR conversion, often matters.
Convert and Stabilize with HandBrake
When drift grows worse over time, you likely need to convert timing rules. HandBrake is a strong free option for that job.
The key goal is:
- Convert VFR to CFR
- Set audio to 48 kHz
- Match the frame rate your timeline expects (often 29.97 or 30 for US YouTube style exports)
In HandBrake, do this:
- Load your source file.
- In Video, set Framerate to Constant. Choose the FPS you want the final file to match.
- In Audio, set the audio rate to 48 kHz.
- Start the encode, then test the output in VLC again.
If your source is VFR, this conversion is often what stops the “start OK, end wrong” feeling.
Also, HandBrake handling can be smoother than some apps when you process bigger files. So if you’re fixing a whole batch, it’s a solid choice.
Use Online Editors for Instant Sync
If you just need the video to play correctly today, online tools can help. Upload the file, apply an audio delay, and download the result.
Tools like Clideo and Kapwing often provide an audio delay slider. Some services also auto-detect drift.
Just watch for two limits:
- File size limits on free tiers
- Privacy concerns when you upload raw media
Also, if the video sync issue appears only after upload, you might need to wait for your platform’s processing to finish. Then re-check in the finished version, not just the first preview.
A quick note: if you plan to use online tools, still do a clip test first. Fixing sync on a 2-hour recording can waste time if your settings are off.
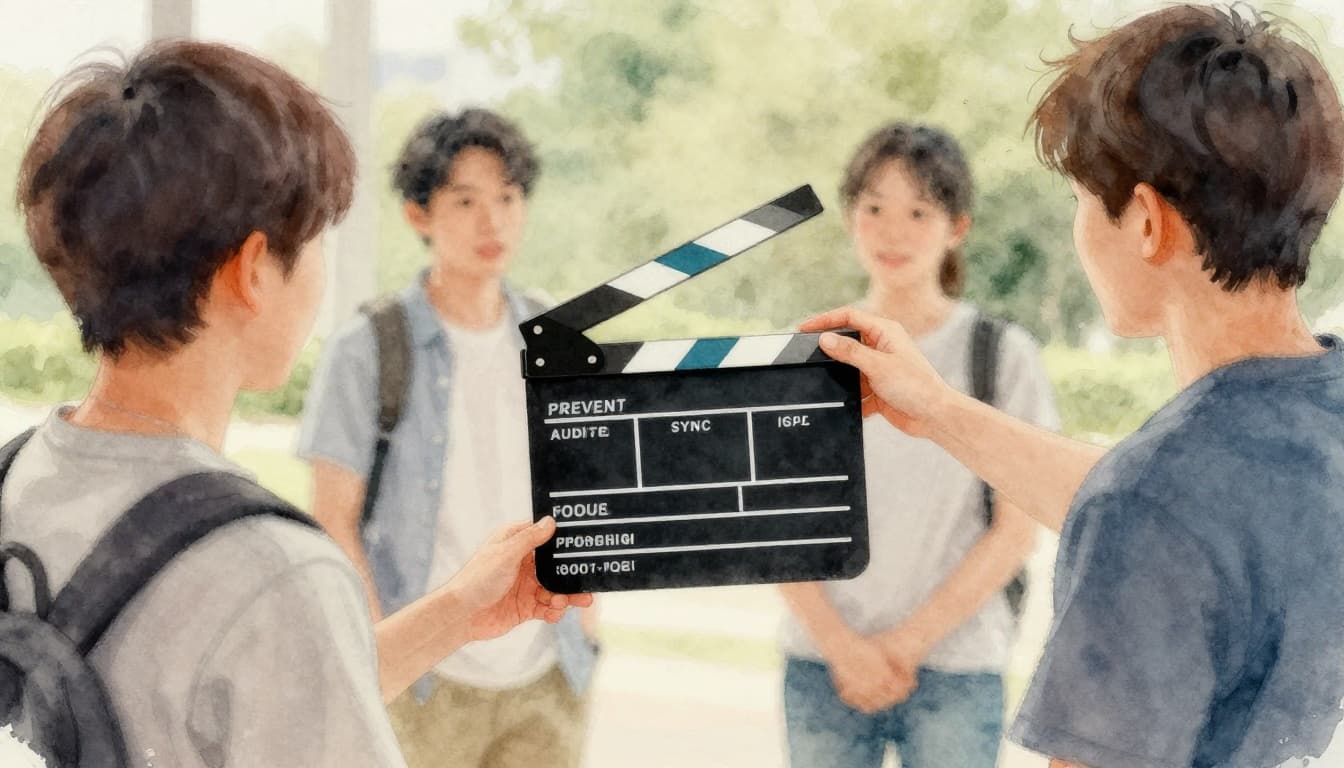
One last trick helps with both free and pro fixes: the clap test.
Use the Clap Test to Find the Sync Point Fast
The clap test gives you an instant reference. At the start, clap once. Then keep rolling.
When you line things up, use the sharp “clap” moment. It’s easy to spot in waveforms and audio meters. It also makes it clear if your delay stays consistent or drifts over time.
If your editor shows a clear waveform spike, you can sync in seconds.
Now that you can fix it with free tools, let’s tighten things even more with pro software.

Pro Techniques to Nail Audio Sync in Editing Software
Free tools are great for repair and quick alignment. But when you need precision, editing software wins.
The workflow idea stays the same:
- Use waveform peaks (not eyeballing only)
- Align the audio to the correct frame or time
- Export with constant frame rate and 48 kHz audio
If you’re syncing separate audio recorders (like a lav mic or field recorder), this is where pro tools shine.
Sync Clips Effortlessly in Premiere Pro
Premiere Pro can sync multi-cam clips using audio. Sometimes it works instantly. If it fails, you can still align manually with waveform peaks.
A practical approach:
- Import your video and audio clips.
- For multiple clips, select them in the Project panel.
- Right-click and choose Synchronize (audio-based).
- If sync feels off, zoom into the timeline.
- Align the clap waveform peaks by dragging the audio track.
- If drift keeps growing, adjust clip speed carefully using Speed/Duration.
- Export with constant frame rate and 48 kHz audio.
Tip: zoom in enough to see the waveform shape. Then match the sharp transient, not the general speech pattern.
Also, multi-cam projects magnify timing mismatches. If one camera uses VFR while another uses CFR, Premiere’s auto tools can struggle. In that case, convert the footage first with HandBrake.
Achieve Perfect Alignment in DaVinci Resolve
DaVinci Resolve is strong with waveform syncing. It can auto-sync from waveform peaks or timecode.
Try this workflow:
- Drag clips onto the Edit timeline.
- Right-click the audio clip and choose Auto Sync Audio based on waveform/timecode.
- If needed, nudge audio using fine moves (like Alt+drag style moves).
- For tricky drift, use the Slip tools so you change alignment without changing the clip’s overall position.
- In the Deliver page, export with constant frame rate and 48 kHz audio.
If you want a refresher on Resolve sync basics, this guide on auto syncing may help: How to Auto Sync Audio in DaVinci Resolve.
Separate audio recorders also benefit from Resolve’s workflow. If you recorded a clean voice track, Resolve can line it up more cleanly than many simple editors.
Now, let’s make sure you don’t keep restarting the fix loop.
Prevent Audio Sync Issues from Happening Again
Fixing audio sync is satisfying. Still, prevention saves time. Most repeat problems come from the same mistakes, like recording at mixed settings or exporting with the wrong timing rules.
The best prevention plan sounds boring, but it works.
Start with your recording and your workflow:
Use these habits:
- Record at 48 kHz audio when possible
- Keep FPS consistent across camera and edit timeline (for many US workflows, 29.97 or 30)
- Use a clap at the start (and sometimes at the end of long takes)
- Use a separate audio recorder (when the camera mic sounds weak)
- Avoid cheap USB or unstable capture setups for long sessions
- Test one short clip export before you commit to the full file
For screen recordings and phone videos, consider converting to CFR first. That one step prevents most drift. Then, when you import into Premiere or Resolve, the sync stays stable.
If you use YouTube or live workflows like OBS, avoid heavy speed changes after export. Speed ramps can cause timing issues if the tool re-interprets frame timing.
One more gotcha: always check sync before you spend time on subtitles, color, or final audio polish. You don’t want to “finish” a video and then realize the last 30 seconds drifted.
The fastest fix is knowing whether your problem is a constant delay or a slow drift.
When in doubt, run the short test:
- Watch lips at the start
- Watch lips near the end
- Re-check in VLC after any conversion
That habit catches issues early.
Conclusion: Fix audio sync once, then trust your timing
Audio sync is the match between picture and sound. When it breaks, even great footage feels off fast.
You’ve got two main routes to fix it: adjust delay for quick alignment, then convert to CFR with 48 kHz audio to stop drift. And if you’re editing in Premiere or Resolve, waveform syncing gets you precision you can see.
Try the clap test on your next shoot. Then export using matched frame rate and 48 kHz audio, and test once in VLC before you move on.
What was your last audio sync problem, delay or drift?