You know that moment on a Zoom call when Netflix audio is fine, but your mic cuts out and everyone starts talking over each other. That’s one of the common audio problems people hit all the time, like no sound, echo, crackling, or the wrong device getting picked. The good news is you can solve many of these issues in minutes, often in under 5, by making a few quick checks in the right order. In this guide, you’ll learn how to fix audio problems in headphones, speakers, and calls, with simple steps you can follow without guessing. Next, we’ll start with the most frequent fixes, beginning with device and volume settings.
Crackling Headphones or Dizzy Spatial Audio? Easy Fixes for Crystal Clear Listening
When your audio suddenly sounds like it’s full of sand, or your head feels weird after turning on spatial sound, don’t assume your gear is broken. Most fixes come down to three things: clean hardware, stable connection, and the right audio mode for your ears. Work through the steps below in order, and you’ll usually get back to clear listening fast.
One-Sided Sound or Sudden Drops
If one ear cuts out, or music crackles only on one side, the culprit is often weak Bluetooth contact or dirt in the ear tips or mesh. Wireless earbuds are basically tiny sound cans. When dust blocks the path, the sound pops, distorts, or disappears.
Start with the simplest reset. Then move to cleaning.
- Forget and re-pair the earbuds
- On your phone or laptop, open Bluetooth settings.
- Tap Forget/Remove for your earbuds.
- Re-pair like it’s the first time you used them.
- After that, restart your audio app once, then test again.
- Clean the ear tips, ports, and speaker mesh
- Use a small soft brush to loosen debris around the tips.
- Wipe the tips with an alcohol wipe on a cloth.
- If you can see buildup in the mesh, use the brush gently, in small circles.
- Let everything dry fully before you pop them back in.
- Check fit, because fit controls the sound
- Push the tip in until it seals.
- If you feel air leaks or the bud slides, try a different tip size.
- For workouts, twist the earbud slightly so it locks in.
- Reduce dropouts from interference
- Step away from Wi-Fi routers, microwaves, and other phones.
- Stay closer to your device for a quick test.
If you want a deeper troubleshooting flow for stubborn one-sided issues, see fix one-sided Bluetooth headphones.

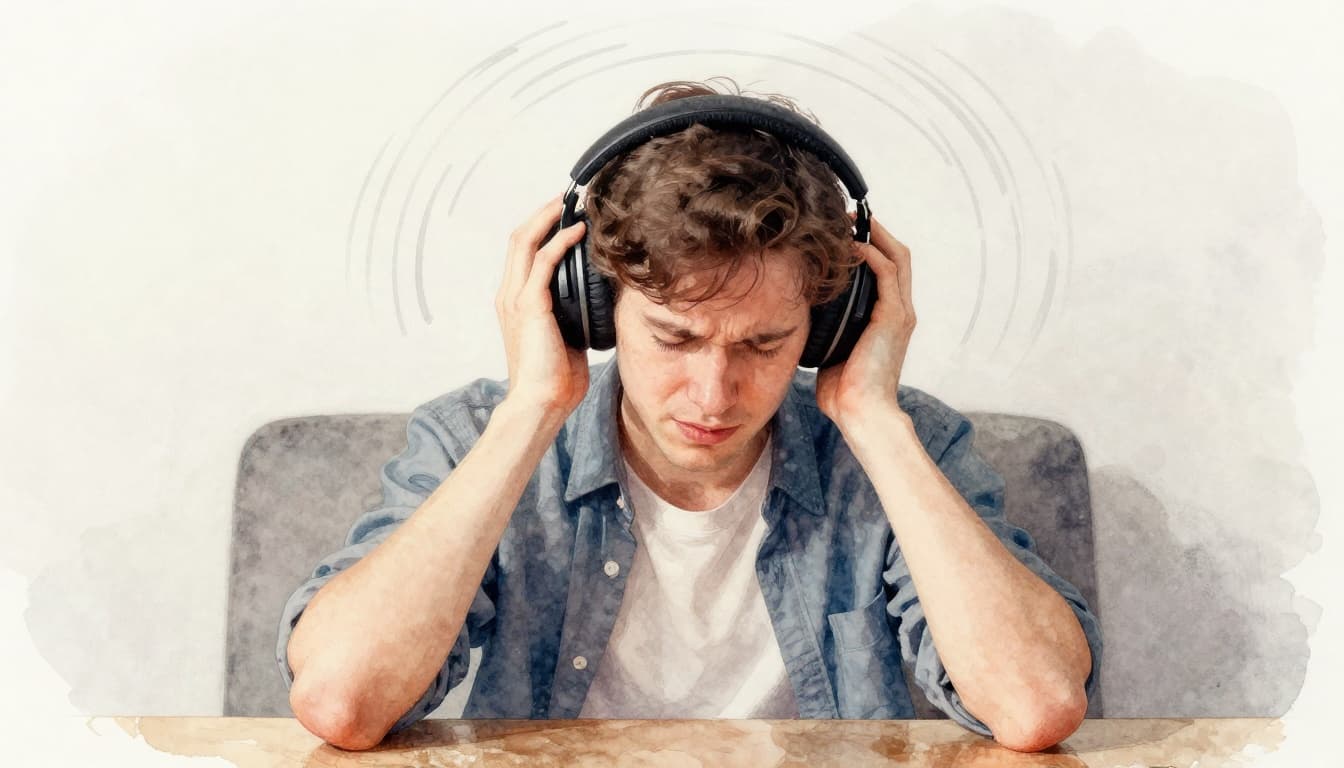
Spatial Audio Feels Off or Causes Nausea
Spatial audio can sound amazing, but sometimes it doesn’t sit right with your body. Your brain expects stable left-right sound. When spatial mode shifts the scene like your head is on a camera rig, some people feel dizzy or nauseous.
Think of it like wearing swim goggles in a room with no pool. You might still “see,” but your balance system gets mixed signals.
Try these fixes in this order:
- Toggle spatial audio off (or switch to stereo)
- Open the earbuds app (or system audio settings).
- Turn off Spatial Audio or choose a plain Stereo mode.
- Test with calm audio, like steady music or a familiar podcast.
- Stop using immersive modes while you adjust
- Temporary break helps your inner ear reset.
- Then re-enable only if you feel fine.
- Test in a calm environment
- Sit still first, then try walking later.
- Avoid fast head turns while you test, because motion can amplify the weird feeling.
- If you’re on Windows, adjust spatial sound
- Windows often offers spatial sound via system options.
- You can use enable or disable spatial sound in Windows 11/10 to switch it off quickly.
Also, check your fit. A loose seal can make the audio less stable, which can feel worse in spatial mode.
If nausea hits fast, treat it like a warning light, not a challenge. Switch back to stereo immediately.
Battery Drains Fast with AI Noise Cancel
AI noise cancel features are helpful, but they can be thirsty during workouts. When ANC and AI processing run constantly, your buds work harder, so battery drops faster.
In gyms, battery life often dips sooner because you’re doing several “power costs” at once: movement, wind noise, higher volume, and constant ANC adjustments.
Use these fixes:
- Update the earbuds app and firmware
- Open the companion app and check for updates.
- Firmware changes can fix power use and ANC glitches.
- For a real example of ANC-related updates, see latest AirPods Pro firmware update.
- Lower ANC level
- Many earbuds offer ANC strength (low, medium, high).
- Use low or medium during light sessions.
- Save high for noisy commutes.
- Switch modes when you don’t need ANC
- Transparency or normal mode often uses less power.
- Use ANC only when it blocks real noise you hate.
- Charge smart, not just often
- Aim to charge when the case or buds drop near low, not after they fully die.
- Avoid leaving them at 100% for long periods.
- Keep your fit secure
- A poor seal makes ANC fight harder.
- Re-seat the earbuds and use the right tip size.
If your battery drains faster only during runs, test this way: ANC off for one session, then ANC low for the next. You’ll spot the exact feature that’s draining you.
Muddy Speakers and Laggy Soundbars: Restore Boom to Your Home Audio
When your sound gets dull, late, or flat, it feels like the speakers are lying to you. Most of the time, the fix is not in a new device, it’s in setup details you can change today. Let’s fix the two biggest culprits first: bad placement (muddies bass and causes heat) and TV sync settings (creates lip-sync delay and buried dialogue).
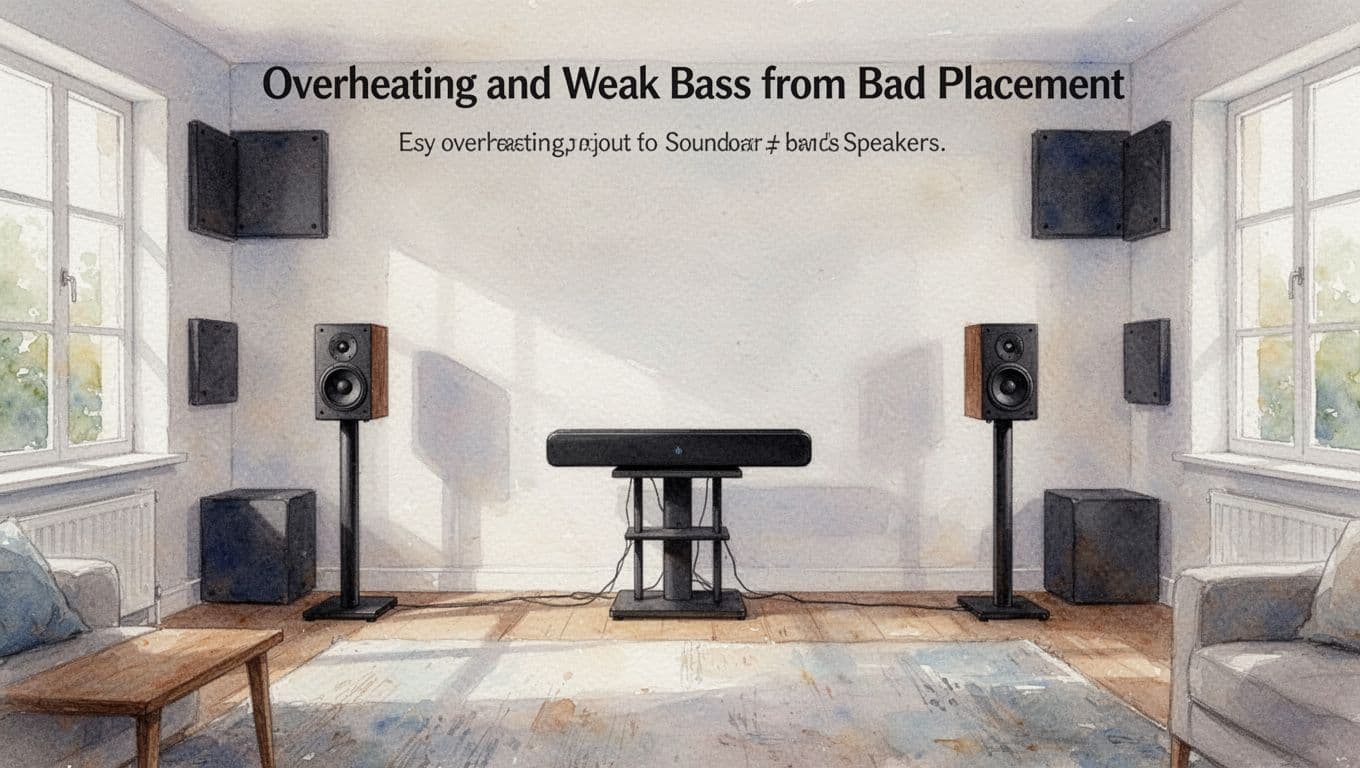
Overheating and Weak Bass from Bad Placement
Bad placement can turn a good soundbar into a muffled mess. Also, compact soundbars heat up faster when vents get smothered, because amps work harder to push low-end through trapped air. If your unit feels uncomfortably warm, treat it like a car running in a closed garage.
Here’s a simple placement rule set you can follow right away:
- Keep it cool (under 50C is a solid target)
- Leave 4 to 6 inches of open space around the sides and top.
- Avoid enclosed media shelves, tight cutouts, or stacked cabinets.
- Check the vents after a movie. If you can’t comfortably touch the body, improve airflow.
- Stop reflections from turning bass into mud
- Hard walls bounce low frequencies back, which can smear timing.
- If your soundbar fires into a wall, the room turns into a mixing bowl for echoes.
- Stand it right, not just “near the TV”
- If you use stands for speakers, aim for ear height when you sit.
- For most people, that means roughly level with the bottom edge of the TV or your seat’s ear line.
Think of your room like a drum. Bass is the drumbeat, and reflections are the extra hits you did not ask for. Fix the hits, and the beat comes back.
To visualize a quick layout, use this simple “no-shelf” diagram:
- Bad setup (mud + heat)
- TV in a box
- Soundbar shoved tight against the back
- Closed cabinet walls right beside vents
- Good setup (clean airflow + tighter bass)
- TV center
- Soundbar directly under TV
- Open air on both sides
- Speakers, if separate, spread slightly and aimed forward
Also, if you have a subwoofer, placement matters even more than the soundbar model. You can start by moving the sub a few feet at a time and listening to a bass-heavy track. One position often sounds fuller, while another sounds thin.
If you want a practical guide for dialing in sub location, see soundbar subwoofer placement basics.
Small EQ tweaks help, too, but don’t “EQ your way out” of bad placement. Try this order:
- First, adjust physical placement.
- Next, reduce overly boosted bass (a little cut often cleans up the whole mix).
- Finally, use room help like bass traps in corners (or even thick curtains) to reduce booming.
When vents are blocked, the sound often gets worse before it fully fails. Cool setup, cleaner sound.
Dialogue Lost in Movie Effects
It’s frustrating when the action sounds huge, yet the voices get swallowed. That usually happens because TV audio and many soundbars do not put dialogue in the center strongly enough. As a result, voices drop into the same frequency space as effects.
Here’s what to do when dialogue sounds buried:
- Boost the center channel (not the overall volume)
- Look for settings like Center, Dialogue, or Voice.
- Increase the center level until speech sounds “locked” in the middle.
- Turn on a voice enhancement mode
- Many soundbars include Dialogue Enhance, Voice mode, or Night mode.
- Use it for TV shows, news, and quieter scenes.
- Use your listening mode intentionally
- Movie modes can widen effects.
- If you mostly watch talk-heavy content, use a mode that prioritizes clarity.
- If your soundbar has an EQ app, use small moves
- Try lowering bass slightly if explosions drown out voices.
- Then raise mids a touch, if the app offers a band like “mid” or “presence.”
A quick test works well. Play a short news clip (steady voices). Then switch between your normal mode and the voice mode. If voice mode makes speech clearer without turning it thin, you found the right lane.
For a helpful baseline on soundbars that do well with dialogue, check RTINGS’ dialogue-focused soundbar picks. It’s useful when you want to compare “voice clarity” settings, not just overall loudness.
Also, don’t ignore placement here. A soundbar that sits too low or too high can push voices out of your ear path. Ideally, center the soundbar under the TV, with the bar roughly aligned to the TV’s midpoint.
If you constantly reach for the TV remote during dialogue, your center/voice setup needs attention, not louder speakers.
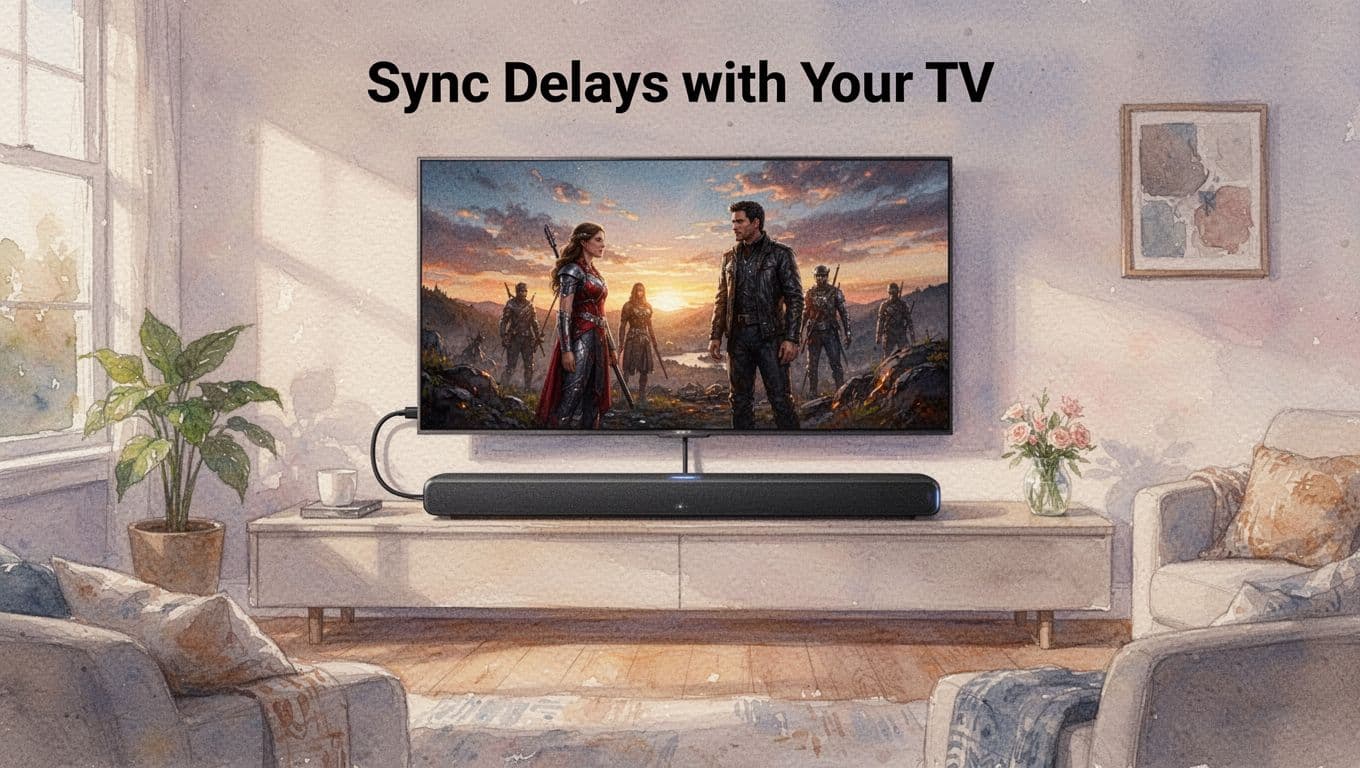
Sync Delays with Your TV
Audio lag feels like the soundbar is waiting its turn. You see lips move, then the words arrive late. That mismatch ruins immersion fast, especially during fast dialogue scenes.
The good news is that the fix is often repeatable. Most “fix soundbar audio lag” issues come from the wrong audio path or the wrong handshake between devices.
Follow these steps in order:
- Confirm HDMI eARC is used, not basic ARC
- Check TV inputs for eARC support.
- Put the soundbar cable into the TV’s eARC port (if it has one).
- On the soundbar, select HDMI eARC as the audio input.
- Set TV audio format to passthrough
- This stops extra audio processing delays.
- In TV settings, look for “Digital audio out” and switch to Pass-through.
If you want an extra checklist for lip sync, fix lip sync on HDMI devices is a good reference. 3. Use the correct soundbar mode (like Game Mode)
- Some soundbars add audio processing for movies.
- Game mode often reduces delay by cutting processing.
- Update firmware on both TV and soundbar
- Updates fix handshake and sync bugs.
- Also, check the soundbar app if it offers an “ARC/eARC” firmware option.
- Do a full power reset if lag started after a change
- Unplug the TV and soundbar from power.
- Wait about a minute.
- Plug in the TV first, then the soundbar.
- Avoid optical as a “main fix”
- Optical can work, but it often limits format support.
- If it’s your backup option only, that’s fine, but prioritize HDMI eARC.
A lot of households stop lag by doing only eARC and passthrough. In practice, it’s the difference between a clean handoff and a messy one.

Echoes in Calls and Muffled Podcasts: Speak Clearly Every Time
If your calls sound like everyone is talking from inside a tunnel, you have an echo or feedback loop. If your podcast sounds muffled or “watery,” your mic pickup and room sound are fighting you. The fix is usually not buying new gear first, it’s changing how your mic and voice interact with your space.
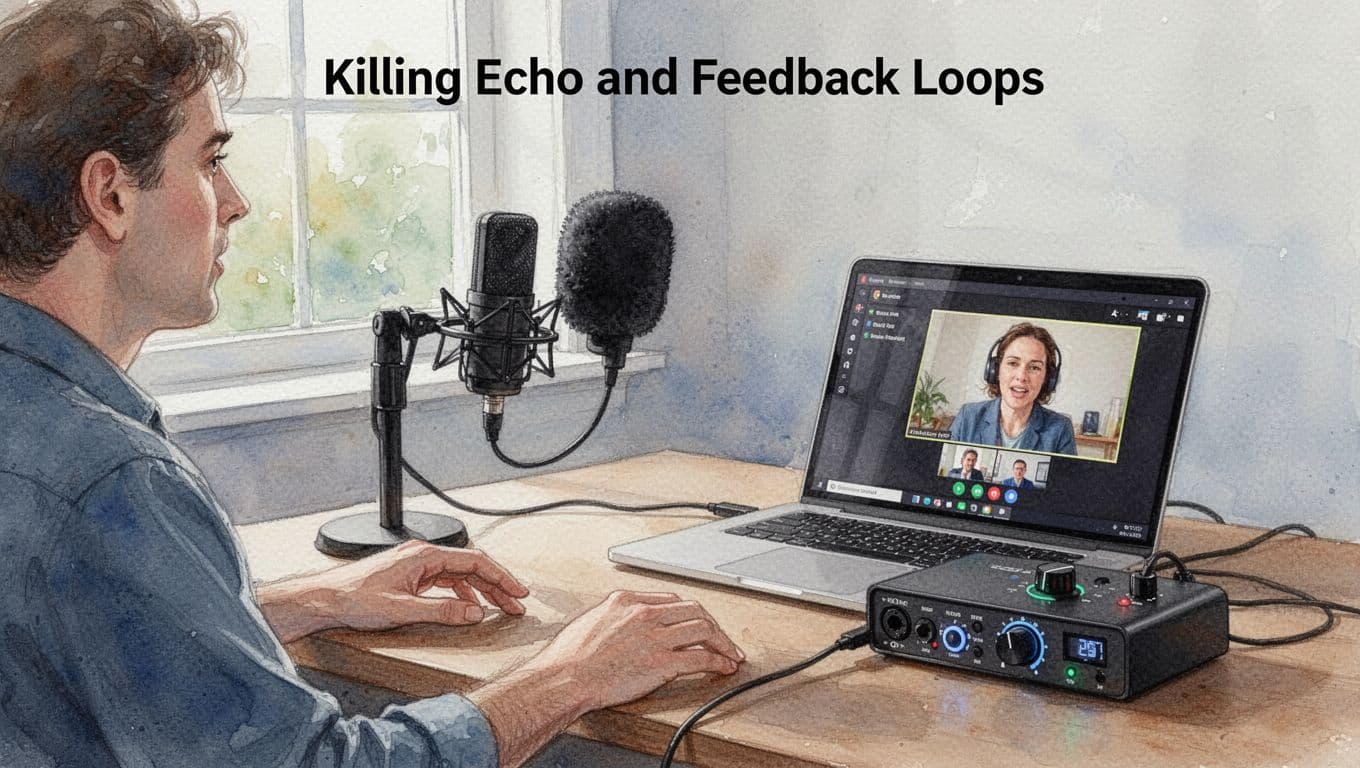
Killing Echo and Feedback Loops
Echo is your room playing back your voice at you, then your call system re-captures it. Feedback squeals happen when your mic hears the speaker output too closely, so it turns into a loop. The fastest way to win is simple, aim the mic, lower gain, and tame the room.
Start with a quick reality check. Are you using speakers instead of headphones? If yes, switch to headphones right now. Most echo cases vanish instantly because the mic stops hearing the room through loudspeakers.
Next, improve mic direction. A directional mic (or a headset mic) works like a flashlight beam, it focuses where you speak and ignores what’s beside you. Keep the mic pointed at your mouth, not toward your screen. Also, don’t aim it at the air vent, because that’s where noise lives.
Then, dial down gain. High gain is like turning up a smoke alarm. It makes quiet sounds louder, including room reflections and computer fan noise. Lower gain until your voice sounds steady, not boosted.
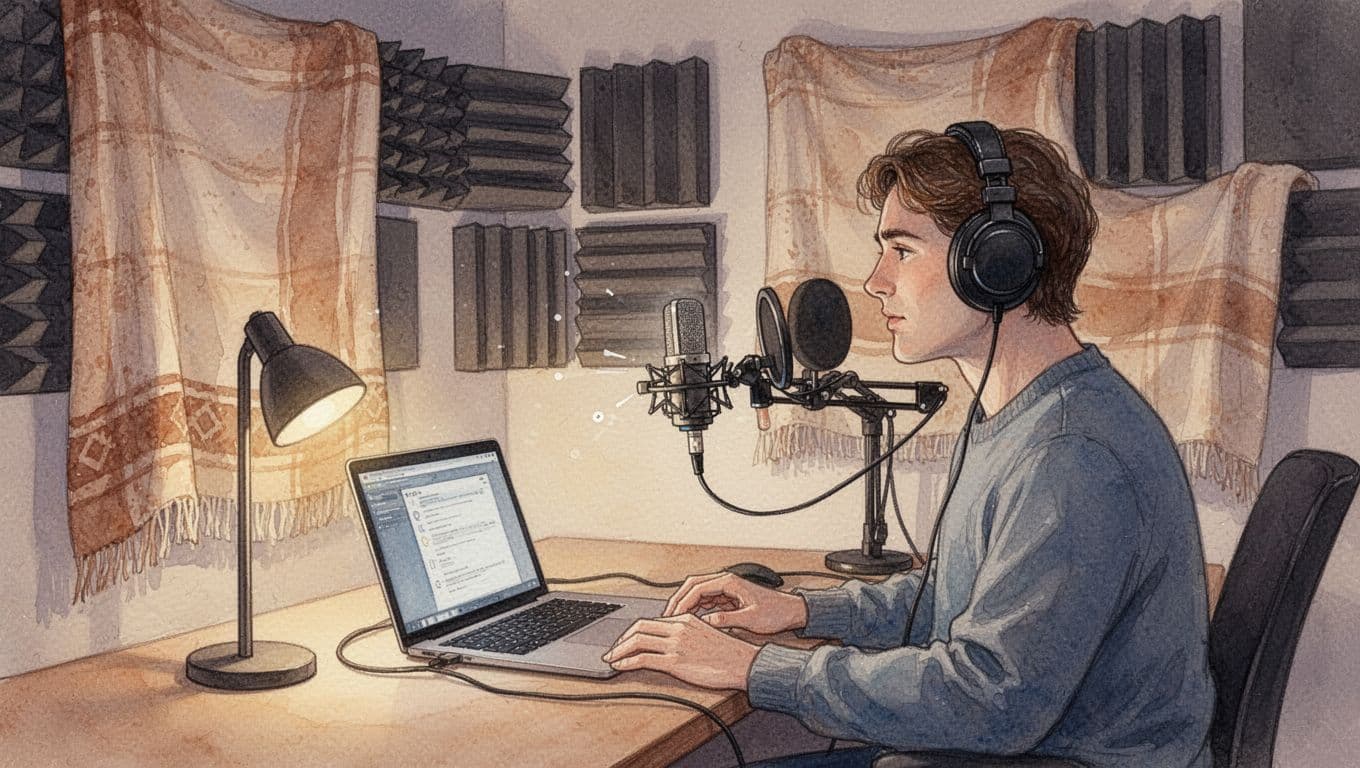
If you’re recording or podcasting, use a windscreen or foam screen. A foam screen helps control tiny bursts of air (like “P” and “T” sounds). More importantly, it reduces harsh highs that make echo feel louder. Think of it as a soft buffer between your mouth and the mic.
Here’s a practical setup order that works in video calls, interviews, and recordings:
- Headphones first (stop the speaker-to-mic loop).
- Mic closer, mic centered (aim at your mouth, keep it consistent).
- Lower gain (remove the “too loud to be clean” problem).
- Add a foam screen (reduce sharp edge sounds).
- Absorb room reflections (blankets, pillows, or panels).
If you want a quick external reference for echo fixes, AON Meetings explains the common echo loop and why headphones usually solve it fast in many cases: how to stop echo on mic.
Finally, if you work in a gym or office, treat echo like a predictable weather pattern. Hard walls and big open spaces create rebounds that your mic will pick up. In those rooms, go smaller and closer. Face a soft surface if you can, and keep your setup away from bare corners.
If you hear a squeal, reduce distance between speaker and mic, then lower gain. That combo breaks the loop quickly.
Background Noise and Robotic AI Fixes
Background noise and “robotic” voices often share one root cause: your audio path has too much room sound, then AI tries to clean it. When AI over-processes, it can flatten tone, change consonants, and make accents harder to understand. In 2026, accent handling can still trip up many noise filters, especially during live calls and interviews. As a result, you may feel like you sound “less like you,” even when the noise gets quieter.
So, yes, AI tools help. But don’t treat them like magic. First, fix the environment, then decide if AI should be on.
Room treatment is the easiest win. You don’t need a studio. You need soft stuff around your voice. Blankets on walls, thick curtains, and even a comforter behind you can cut reflections and background noise. Also, move away from noisy zones like windows, HVAC vents, and hallway doors.
If you record in a room with echo, try this quick “sound blanket” approach:
- Put a blanket behind your mic area.
- Add a curtain or blanket to the wall closest to your screen.
- Avoid sitting in the center of a big empty room.
Next, test AI noise cancellation like Krisp. AI noise cancel can reduce keyboard clicks, HVAC hum, and fan noise. However, it can also mangle some speech patterns. That’s why you should test in the exact situation you record in. Try one clip with AI off, then one with AI on. Compare clarity, not just loudness.
To see how Krisp is positioned for noise removal and call audio, review guidance like Krisp review 2026.
Also, don’t ignore the mic itself. For “muffled USB mic” problems, distance and placement matter more than people think. A USB condenser mic should sit about 6 inches away for most voices. Too close can cause boomy, heavy mids. Too far can force your system to add gain, which brings up noise.
If your podcast needs consistent volume, normalize your recordings in Audacity. This step helps when different takes jump in loudness, making AI work harder than it needs to. Follow a guide like normalize audio in Audacity so your voice stays even.
For remote workers, the goal is simple: reduce what AI has to fight. Turn off notifications. Close extra browser tabs with audio. Use a quiet room if you can, and if you can’t, add soft materials around you. Then, record again.
One more gotcha: volume inconsistency. If your voice comes in too hot for one take and weak for the next, AI will “chase” your signal. Over-processing often sounds like a soft underwater filter, where words blur and edges disappear.
Here’s a clean troubleshooting flow for “robotic” or processed-sounding audio:
- Make the room calmer (blankets, quieter time, closer position).
- Set mic distance (around 6 inches for USB condensers).
- Lower gain (aim for clean peaks, not constant loud).
- Test AI on and off (choose clarity, not silence).
- Normalize (keep volume consistent across takes).
If your “AI voice” gets worse only for certain accents, treat that as a signal. Don’t just crank the filter. Instead, improve mic pickup (closer and more directional), then re-test. In other words, give the AI a cleaner feed, and it will usually stop sounding fake.
Clean input beats heavy AI every time. Your voice should sound like you, just clearer.
Streaming Stutters, Gaming Delays, and Production Myths Busted
When audio starts to jump around, your gear can feel “haunted.” More often, it’s just a bad connection, a mismatched setting, or a false belief you heard once and never tested. The goal here is simple: keep your stream stable, keep your game in sync, and keep your production setup honest.
Below, you’ll fix the most common causes behind streaming stutters and gaming delays, plus the myths that waste money. You do not need top-tier cables or fancy settings to get results. You need the right order.
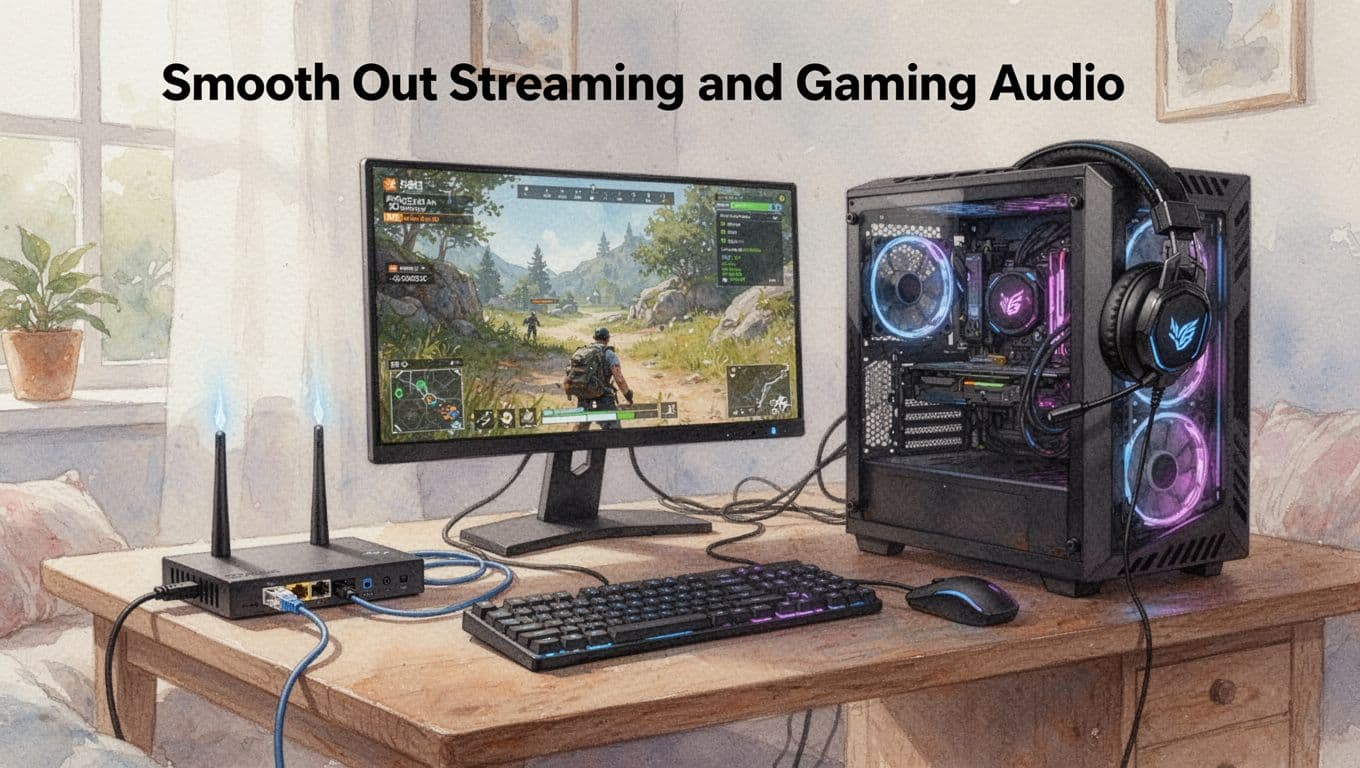
Smooth Out Streaming and Gaming Audio
Choppy audio on Wi-Fi feels random, but it usually isn’t. Streaming stutters often come from the connection dropping for a moment, or your device swapping audio paths mid-play. That’s why the quickest wins are network first, then settings.
Start with the biggest fix for both streaming and games: Ethernet. If you can, plug your PC or streaming device directly into your router. You remove Wi-Fi signal dips and latency spikes that turn smooth audio into little “hops.” If you want more troubleshooting ideas, streaming without stuttering network tips is a solid baseline.
Next, clean up audio software behavior. In many systems, you can reduce stutter by doing three things:
- Disable unused audio devices (if multiple outputs or mics exist, your system may bounce between them)
- Turn off audio enhancements (virtual surround, “room” effects, and similar tools can add processing)
- Clear or reset the app’s audio buffer (in practice, restarting the app and browser tab often does this)
Now, for the sync problems. Sometimes the video looks fine, but audio jumps late. That can happen when your app or TV uses an unstable audio format handshake. Use the simplest path first:
- Prefer Dolby Digital over Atmos if your setup keeps desyncing
- For TV audio, choose a mode that avoids extra “post-processing” delay
- If you use a soundbar, confirm the HDMI audio mode stays consistent (for example, passthrough)
Finally, for fix gaming audio lag, get ruthless about delay sources. A common one is Wi-Fi plus wireless headset pairing. If you can, switch to a wired headset for testing. Then, in your game settings, pick Game Mode so the system prioritizes the audio and video pipeline. When you do all of this in order, you usually hear the difference right away, not after hours of tweaking.
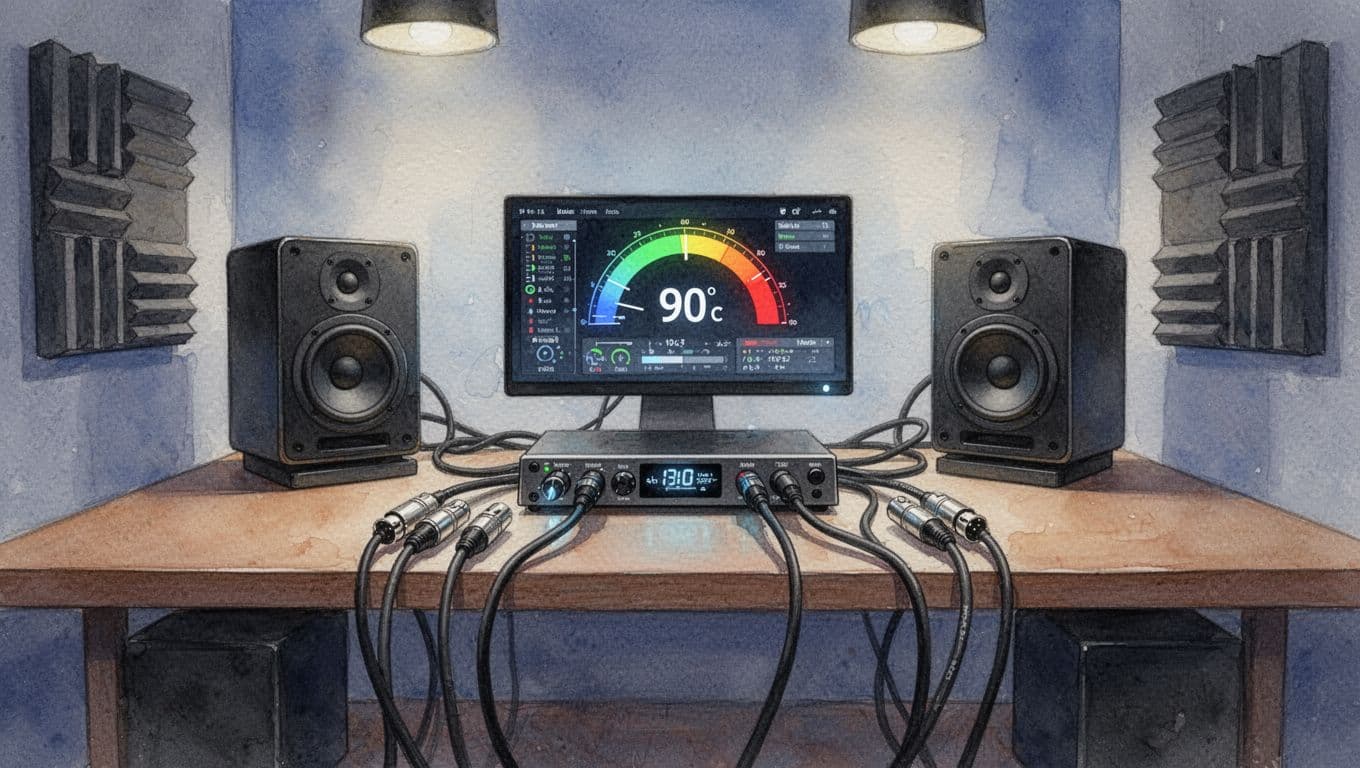
Music Production Gear Staying Cool and Honest
Heat is the silent enemy of stable audio. When an audio interface, amp, or powered speaker runs hot, performance can wobble. You may notice pops, dropouts, or distortion, especially during longer sessions. Also, don’t chase the idea that only “expensive stuff” sounds better. Most production problems come from setup and room behavior, not cable price tags.
So here’s how to keep your gear cool and honest at the same time.
First, watch actual temperatures. If your interface or preamp has a way to check temps, use it. Aim for “comfort range,” and don’t ignore warnings. If you don’t have a monitor, use a simple rule: if you can’t comfortably touch the unit for a few seconds, improve airflow. Clear vents, avoid stacking gear tight in cabinets, and keep fans unobstructed.
Second, skip the cable myth. Audio cables rarely fix problems caused by bad power, wrong input levels, or room feedback. In fact, are more expensive cables worth it breaks down why price does not automatically equal better performance. Instead, buy cables that fit your job, then spend money where it matters: good monitoring, decent treatment, and your interface settings.
Third, use room help. Bass traps and basic absorption reduce harsh reflections that can make your mix feel “off,” even if the gear is fine. Put thicker panels in corners, then add a softer surface near your listening spot if you hear fluttering highs.
A quick “real-world” order that works:
- Cool the gear (airflow, dust control, avoid tight shelves)
- Confirm standard connections (right input, no accidental adapters)
- Set levels (avoid clipping, avoid too much gain)
- Treat the room corners (bass traps, thick blankets, or panels)
- Re-test the same track after each change
2026 Trends: Taming AI Noise Cancel and Spatial Hype
2026 audio tech feels exciting, and it should. Still, hype can trip you up fast. AI noise cancel gets smarter, but it can also sound “off” when it guesses wrong. Spatial audio feels huge, yet some people get spatial nausea when the setup misses their body and fit.
The good news is you can fix most of it with the same mindset you already use for crackles, echo, and call problems. Start with quick checks, then change one setting at a time. Think of it like cooking, you taste as you go, so you don’t ruin the whole dish.
The new AI noise cancel isn’t “set and forget” in 2026
In the past, ANC worked like a steady wall. Now AI noise cancel can act like a smart driver, adjusting based on what it thinks is happening around you. That sounds great, because noise changes by the second. However, it can also respond too hard, or to the wrong kind of sound.
A few common 2026 patterns show up when AI runs in the background:
- Over-canceling: the world gets too quiet, then sound feels hollow.
- Voice distortion risk: AI may prioritize removing noise over keeping speech natural.
- Aggressive filtering: some accents can lose crisp consonants, which makes you sound “less like you” on calls.
If you want a sense of why the tech shifted, see 2026 AI noise cancellation technology trends. The big takeaway is simple: your headphones now learn patterns, not just block sound.
Also, AI noise cancel behaves differently across modes. For example, “high ANC” can drain battery and create pressure feel. Meanwhile, “adaptive” might react to your room, your movement, or even the way your head turns.
To keep it sane, run this quick test before you change anything else. Play the same track in three modes: normal, low ANC, and high ANC. If one mode makes vocals thin or unnatural, that’s your answer.
Spatial hype in 2026 comes with calibration and comfort pitfalls
Spatial audio feels magical when it locks in. Yet it can turn uncomfortable if it doesn’t match your head shape, your fit, or your motion. In other words, you can get nausea from sensory mismatch, even when the audio quality seems fine.
Here’s what usually causes it in real life:
- No calibration (or wrong calibration): the “virtual room” doesn’t match you.
- Poor fit seal: spatial relies on stable left-right cues.
- Motion during first-minute testing: turning your head too soon can amplify mismatch.
- Wrong app setting: some apps default to a more intense spatial mode than you need.
If you want a comfort-first reference, check VR motion sickness: what actually works. Even though it’s VR-focused, the core problem is the same, your senses disagree.
So how do you tame spatial audio? Start quiet and slow.
- Use calibration if your earbuds or headphones offer it.
- Keep your head still for the first 2 to 3 minutes.
- Choose a milder spatial mode before you try “max” settings.
- If you feel pressure or wobble, switch to stereo right away.
Also, try a simple content test. Use a familiar podcast with a single speaker. Then add music later. Speech tends to reveal spatial errors faster.

When AI cancels noise but cuts voices and accents
This is the part people miss during the “cool tech” phase. AI noise cancel doesn’t just reduce background noise. It also changes the way speech edges land in your ear. When it gets too aggressive, vowels can blur, and consonants can soften.
That’s why calls can sound “cleaner” yet still wrong. You hear less noise, but the voice loses detail. Accents take the hit first, because they depend on timing and small shape changes in speech.
If you notice this, don’t just crank the filter off and hope. Instead, do a controlled A-B test.
- Make a short recording of your voice with AI noise cancel off.
- Record again with noise cancel on, same distance, same volume.
- Compare clarity of words, not just loudness.
Then adjust in the direction that preserves speech:
- Lower ANC strength (try low, then medium).
- Use transparency only if you need it for announcements.
- If there’s a “voice priority” or “human voice” mode, use it for calls.
- Keep your mic close for calls (distance matters more than you think).
If AI noise cancel quality worries you in general, is AI noise cancellation good offers a balanced look at both benefits and tradeoffs. Use it as a reality check, then trust your own voice test.
Home audio and calls still follow the fastest fix rules
Even as headphones evolve, the basics still win for speakers and calls. Quiet tests solve a lot of problems, because they remove variables. Then small settings tweaks do the rest.
For home audio, your biggest trend-aligned fix is still about the audio path. Many newer setups push spatial and processing through the TV. That can create sync issues or weird “scene” effects.
So, when you set up for 2026-style audio features, use your fastest reliable baseline:
- Use eARC for all when you can, so your soundbar gets stable format support.
- Start with spatial audio off (or mild) during the first test.
- Once it sounds right, then enable immersive features.
When you do calls, keep the environment calmer before you rely on AI. Treat it like you would echo fixes: reduce room reflections, then adjust mic settings. AI noise cancel works best when it has clean input.
A final note about heat: some small earbuds and compact soundbars run warmer when AI and ANC work hard. If your unit feels uncomfortably warm, reduce ANC strength, take a break, and improve airflow. Heat can worsen performance, and you want stability more than extra silence.
Conclusion
Most audio problems come down to the same small set of causes: bad fit or dirty hardware, unstable connections, and mismatched settings. Because of that, you can fix about 90% of issues with simple tweaks, like re-pairing Bluetooth, resetting EQ to a safe baseline, switching to eARC or Game Mode for sync, and calming your call room before you rely on AI noise cancel.
For headphones and earbuds, start with clean contacts and a solid seal. For speakers and soundbars, focus on placement, the right audio path (HDMI ARC/eARC), and settings that protect dialogue. For calls, reduce echo first, then keep your mic pickup close and steady, because AI works best when your input is clean.
Try one fix today, right now. Test, then share your win in the comments, what changed and how it sounded.
What’s your biggest audio headache this week, crackles, muffled calls, or soundbar lag? Enjoy music, calls, and movies without frustration. Subscribe for more 2026 tech tips.