Hexa Knot - Hexa Knot is a simple and minimalistic puzzle game. The colorful knots are divided by the hexes. You need to swap hexes to...
Squarus II - Squarus is back! Move your square to its destination. It sounds too easy, right? But you have to pay attention to the danger...
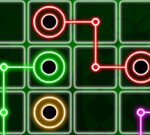
Neon Stream - Neon Stream is a color matching puzzle game. Neon circles with different colors are laid out on the grid. You need to connect...
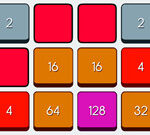
4096 Puzzle Tiles - 4096 Puzzle Tiles is an interesting puzzle number game. You can match two identical Numbers to get a bigger number. Your...
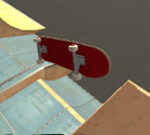
Swipe Skate - Swipe Skate is a very interesting skateboard game. Do you like skateboarding? You can try all sorts of tricks, rubbing and...
Rush Team - Rush Team is a first-person shooting game that you can play with players from around the world. Select different game modes,...
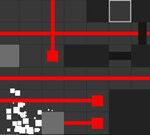
Hookshot - Hookshot is the challenging arcade game. Your task is to send the ball to the destination. The ball will continuously adjust...
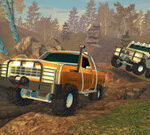
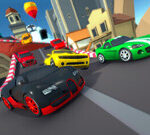
Offroad Extreme Car Racing - Drive your car for an exciting racing. It sounds good, right? Choose your favorite car to start the racing. Run as fast as...
Cow Defender - Cow Defender is an awesome 3D third-person driving and shooting game. The animals on the farm are controlled by the vicious...
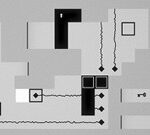
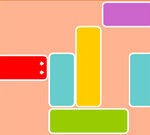
Klotski: Unblock Rush Hour - Klotski: Unblock Rush Hour is a puzzle game in which you can test your mental thinking. Your task is to move the blocks of...