
You know how it goes, you export a Shopify CSV to Excel, spend hours fixing it, and then the import still fails. Meanwhile, customers sit there waiting, and you feel stuck redoing the same work. Common export errors usually come from small stuff like UTF-8 vs. other encodings, date formats, currency symbols, and mismatched headers across Shopify, Excel, Google Sheets, and QuickBooks. Even if the file looks fine, those details can break the next step.
In the next sections, you’ll see the most common export errors in each tool and the quickest fixes, with practical steps you can follow right away. By 2026, more teams will also use AI-style pre-import validators to catch number and date issues before you upload, so failures happen less often. Next, start with the errors that show up most often when moving Shopify data into spreadsheets.
Excel Export Glitches That Trip Everyone Up and How to Beat Them
When you export from Shopify or QuickBooks and then open the file in Excel, small formatting choices can turn into big import failures. The file might look “right” on screen, yet it can break when another app reads it. Think of your CSV like a train schedule. If the dates or encoding are off by one detail, the whole trip stalls.
Below are three of the most common Excel export glitches that trip people up, plus quick fixes you can apply immediately.
Fix Encoding Errors That Garble Your Data
Encoding errors show up like scrambled characters, missing accents, or strange symbols. For example, “Café” might turn into “Café”. That happens when a file gets saved in one encoding format, then opened as if it used another.
The safest fix is to control the CSV encoding at save time. Do this every time you touch the file:
- In Excel, open the exported CSV.
- Go to File > Save As.
- Choose CSV UTF-8.
- Save, then re-test your import.
Why does this matter? Plain CSV files do not carry all encoding details with them. So Excel and other tools guess, and their guesses can differ. Headers add another wrinkle too. If your header row contains special characters (or you have commas in fields), apps can misread column boundaries and shift data into the wrong places.
If you want a reference pattern, use Shopify’s own CSV output as a template for structure and field names. Shopify merchants often report the same “special characters” pain when a CSV gets re-saved in the wrong mode. You can see real-world fixes in the Shopify community thread on special characters during CSV export (and why it usually comes back to encoding) in this Shopify discussion.
Also, don’t trust looks alone. Garbled text is a red flag, but sometimes the damage is subtle, like a comma treated as a separator. In other words, Excel can make it readable while other systems treat it as broken.
One important warning: never re-save a Shopify export as a “normal” CSV from Excel without choosing UTF-8. That one click can undo the clean export you started with.
If you want an extra safety net in 2026, run the saved file through a free validator tool before importing. Free options like Toolkit Bay and Teleport can scan for encoding problems and other CSV issues early. This saves time when you’re moving data into HubSpot, QuickBooks, or other CRMs.

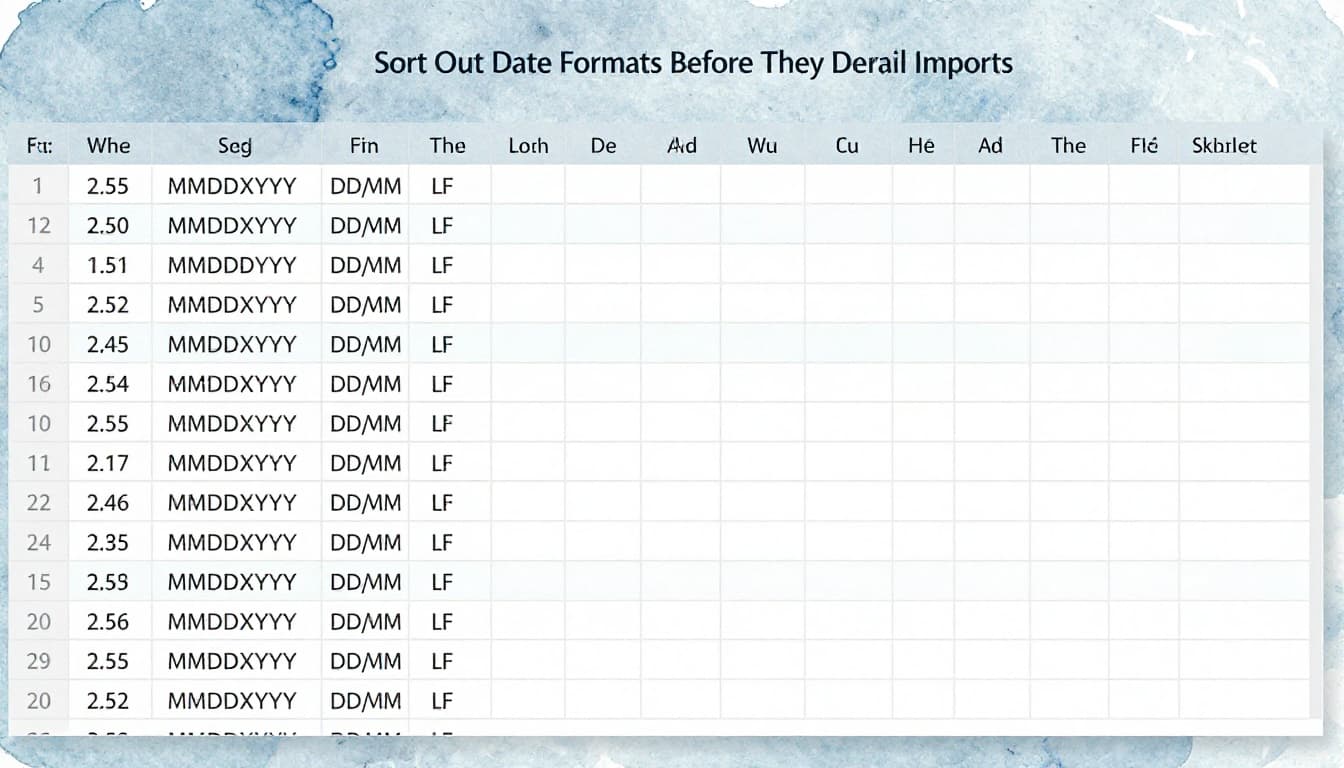
Sort Out Date Formats Before They Derail Imports
Dates are another classic Excel export glitch. The spreadsheet may show dates fine, but when you export, Excel can store them as numbers. Then the import app tries to interpret those numbers as the wrong date pattern.
Your goal is simple: make sure every date uses the same format everywhere, especially YYYY-MM-DD.
Here’s the step-by-step approach that works:
- In Excel, click the date column you exported.
- Open Home > Number Format (or right-click the column and pick formatting).
- Select Custom.
- Enter
YYYY-MM-DD.
If you prefer a formula approach, especially in Google Sheets, use:
=TEXT(A2, "YYYY-MM-DD")
After you apply the format or formula, test the workflow with a small batch first. Import errors often appear only when one “odd” date slips in. So start with 10 to 20 rows, confirm the import lands correctly, then scale up.
This matters for QuickBooks too. QuickBooks imports can be picky about date formats, and using the wrong style can cause rejects or swapped month/day. Intuit’s guidance on importing data to QuickBooks Online is a good starting point when you need the tool’s expectations for imports, not just Excel’s display. See QuickBooks Online import questions.
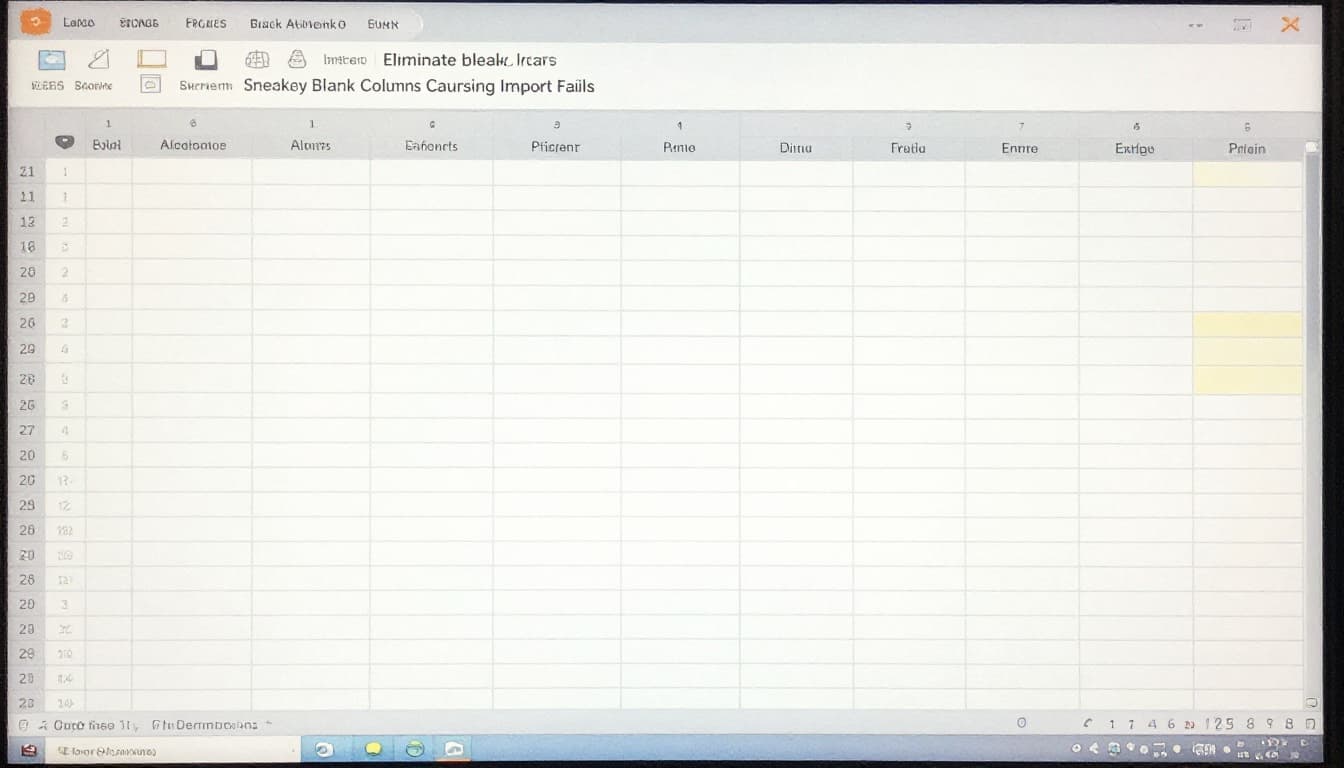
Eliminate Sneaky Blank Columns Causing Import Fails
Blank columns are sneaky because they look harmless. Still, imports can fail when your CSV includes extra empty columns, hidden cells, or stray delimiters.
The usual symptom is an import error that sounds generic, like “invalid header” or “unexpected column count.” Often, the file has more columns than the target system expects.
Use this fix:
- In Excel, select all the columns to the right of your real data.
- Delete their contents (not just the visible cells).
- Re-check for empty but active columns, then save again.
If you want to catch hidden cells, zoom in and scan to the right edge of your dataset. Sometimes cells look blank but still contain formatting, spaces, or invisible characters. That can keep a column “alive” in the export.
Also watch for this trap: Excel’s used range can stretch farther than you think. So your export may include lots of empty columns even though you only see a clean table. Deleting the right-side columns forces Excel to shrink what it exports.
If you want a quick sanity check, upload the CSV to a free validator tool before import. In 2026, tools like OpenRefine (free) and web-based validators can flag empty columns and other structural issues. That means you fix the file once, not after every failed import.
For more background on how common CSV import errors connect to hidden columns and format problems, this breakdown of common CSV import errors and fixes is useful as a reminder that “looks fine” does not always mean “imports fine.”
Google Sheets Export Problems and Easy Workarounds
When you export from Google Sheets into Shopify, Excel, or accounting tools, tiny formatting choices can wreck the whole file. The most common failure looks boring on the screen, then turns painful during import.
Two patterns show up again and again. First, barcodes and item codes lose leading zeros, so 00123 becomes 123. Second, large or “finance-style” values get shortened, like Google Finance showing 1.23E+17. Fixing these issues is easier than most people think, as long as you change how Sheets treats the cell, not just how it looks.

Stop Barcodes and Numbers from Getting Mangled
Barcodes, SKU-like IDs, and Shopify variant numbers behave like text, even when they look like numbers. Sheets “helpfully” strips leading zeros when it decides the field is numeric, and Shopify then receives the wrong code.
Start with a simple rule: export to plain text first, then validate with a second method. If possible, open the export in a plain-text viewer (or import it into a small test sheet) before you touch Shopify.
Then use one of these workarounds to keep codes intact:
- Set the column to Plain text
- Select the whole barcode column in Google Sheets.
- Go to Format > Number > Plain text.
- Re-paste or re-import your codes so zeros stay.
- Edit variants in batches, not one-by-one
- When you update Shopify variants, change the format for the code fields first.
- Next, edit in batches and keep the upload consistent across rows.
- For digital products, set digital to
FALSEduring edits- When you do bulk updates, the “digital” flag can trigger extra logic in some sync workflows.
- Set digital to FALSE while you clean code fields, then re-apply the correct value after testing.
Here’s a real-world warning: many Shopify exports fail for small formatting reasons, and teams often see around a 15% error rate in rushed rounds. That rate drops when you test with store-specific details (a real sample export, not a generic template) and then validate the codes after the Sheets export step.
If you need batch editing for digital catalogs, use a bulk sync app designed for Sheets workflows. For example, eCommix supports Shopify spreadsheet sync patterns that help you fix fields like tax and shipping while you keep code formats stable. See eCommix bulk Shopify sync guide.
Also, if you want a sanity check on the “zero stripping” behavior, compare your export against Google’s community reports of leading-zero loss when exporting CSVs. This thread covers the issue and why formatting alone sometimes doesn’t save you: Google Sheets removing leading zeros.
Handle Weird Finance Data Displays
Google Finance can show volume and other metrics in scientific notation, especially with large numbers. You may see 1.23E+17, and it feels “correct” at first glance. Then Shopify, Excel imports, or any downstream calculator treats it like math, not a real count.
Work with Sheets like you would with receipts. If the number isn’t in a normal form, don’t ask the next app to guess.
Most “E+17” fixes fall into two buckets:
- Manual entry (when it’s only a few values): copy the displayed value into plain digits using a calculator step, then paste it as text.
- Sheet alternatives (when it’s recurring): avoid pulling huge historical volumes, because older values are where Sheets is most likely to switch notation styles.
Meanwhile, if you must keep it automated, use a display workaround that forces Sheets to treat the result as plain text. For huge values, converting to text keeps the digits from jumping into E+17 shorthand. You can also apply a consistent custom number format across the range so the output stays readable and stable.
For related context on turning scientific notation into standard digits, use these references as a guide for what Sheets is doing and how people convert outputs safely. Start with disable scientific notation in Google Sheets, then compare approaches from convert scientific notation to standard form.
Finally, keep your finance pulls practical. If you only need current snapshot data, avoid historical volume pulls that bring extreme values into your sheet. That alone reduces the chances you’ll hit notation weirdness during export.
QuickBooks Export Fails No More: Proven Fixes
When QuickBooks exports or imports fail, it usually feels random. It rarely is. Most of the time, QuickBooks is stopping because the file structure does not match what it expects, or because Windows and Office got in the way. Treat the error like a traffic light. If one detail is off, nothing moves.
Here are proven fixes that stop the common blockers, including grayed-out Continue buttons and vendor import failures.
| Error symptom | Most common cause | Proven fix |
|---|---|---|
| Continue stays grayed out during QuickBooks import | Bad or mismatched headers, extra blanks, merged cells, wrong CSV encoding | Use a header row that matches the template, delete extra columns, save as UTF-8 CSV, and avoid merged cells |
| Vendor import fails or rejects rows | Duplicate vendor names, wrong data formats, missing required fields | Clean vendor rows, remove duplicates, then import using File > Utilities > Import |
| Excel export option is blocked or grayed out | QuickBooks version mismatch, Office install issues, Windows security blocking | Update QuickBooks to QB 2024+, repair Office, and toggle UAC if needed |
| Export opens but fails next step | You exported to a format QuickBooks does not like | Use XLS/XLSX where possible, or export CSV only after fixing headers and blanks |
If you want a deeper baseline on why import screens stop working, Intuit covers common import issues in its support articles, including cases tied to file processing errors. Start with Resolving QuickBooks Import errors.

Unlock That Stuck Continue Button
A grayed-out Continue button usually means QuickBooks sees a problem before it even tries to import. So don’t waste time clicking around. Instead, fix the file like a chef fixes a recipe. One ingredient out of place breaks the dish.
Do these fast checks in order:
- Delete extras
Remove any columns you do not need. Also remove extra blank columns on the far right. - Match headers exactly
Your header names must match the QuickBooks import fields. If you add “Vendor Name (2)” or rename a column, QuickBooks can stall. - Avoid blanks that hide structure problems
Sometimes a blank column still exists because of spreadsheet “used range.” Delete whole columns, not just empty cells. - Stop merged cells
Merged cells can shift data when QuickBooks reads the CSV. Unmerge them and re-fill values per row. - Save as UTF-8 CSV
If you export from Excel or Sheets, re-save using UTF-8 so special characters do not corrupt your headers or text fields. - Update and repair when the UI itself is stuck
If it still blocks you after file fixes, repair Office and update QuickBooks. Many “import UI won’t move” cases come from outdated components.
For a related QuickBooks import flow issue, check How can I import the accountant’s changes if the option is grayed out?.
In 2026, you can reduce this pain by automating file prep. Tools like Coupler.io can validate and shape exports before they ever reach QuickBooks, so the Continue button has a clean file to read.
Make Vendor Imports Work Every Time
Vendor imports fail for the same reason a spreadsheet loses its place. QuickBooks needs the rows to look consistent, and your headers must behave. Start with the vendor data first, then import.
First, clean the data like you’re sorting receipts:
- Remove duplicates by vendor name and key fields (email, phone, tax ID if you use it).
- Confirm dates use one format (and stay consistent across all rows).
- Make sure amounts and numbers are plain values, not text with symbols.
- Remove stray spaces in vendor names (leading or trailing spaces matter).
Then run the import using the exact path:
- In QuickBooks, open the vendor screen you’re importing into.
- Choose File > Utilities > Import.
- Select your prepared CSV or Excel file.
- Map columns to the matching fields, then import.
If you see the specific duplicate-style error (like “name supplied already exists”), resolve it by finding the existing vendor and updating that record instead. Intuit explains this pattern in Fix “the name supplied already exists” error message.
Finally, export tests matter. Import 10 vendors first. If it works, scale up. That saves you from fixing the same header mistake across hundreds of rows.
Shopify and WooCommerce Export Traps to Dodge in 2026
Header rows and variant columns look harmless until they start behaving like a “misfiled receipt.” One shifted column, one renamed header, and suddenly your variants show up under the wrong product, or your checkout fails in WooCommerce because the pricing and fulfillment fields no longer match.
This is especially common when you export from Shopify, edit in Excel or Google Sheets, then re-upload into Shopify or WooCommerce (or when you keep a mapping spreadsheet for both). Your goal is to keep the file structure stable, then test with small batches before you trust the full catalog.
Prevent Header and Variant Setting Mix-Ups
First, treat your Shopify export like a template you should not freestyle. If you must edit, keep one “golden copy” untouched, then create a working copy from that file. After that, focus on two areas: header integrity and variant settings alignment.
Here’s a practical way to stop header corruption and variant mix-ups:
- Use a UTF-8 template header row
- Start from a fresh Shopify export (or an export you already imported successfully).
- In Sheets, keep the header row exactly as-is. Do not add spaces, rename columns, or reorder them.
- Create samples, then sort by type in Sheets
- Copy 10 to 20 rows into a new tab called
Sample. - In
Sample, sort by product type (or another field you use to define “this group of products”). - Why this works: mixed product types expose where your columns stop matching, early.
- Copy 10 to 20 rows into a new tab called
- Bulk-edit variant columns without drifting values
- When you adjust variant settings (like SKU, price, barcode, or fulfillment flags), do it in controlled blocks.
- After edits, compare a row before and after. You should see changes only in the intended columns.
- Match tax and shipping fields for digital products
- Digital products often fail checkout when tax class or shipping settings drift from what WooCommerce expects.
- When you spot digital items in your sample, confirm the tax and shipping-related columns stay consistent. If you do not, WooCommerce can apply the wrong tax or treat an item like it needs shipping.
If you want a quick reference for multi-variant structure, use WebToffee’s guide to importing multi-variant products to sanity-check how Shopify expects variant rows to relate to handles.

Finally, repeat the small-batch test every time you touch headers. Catalogs fail in 2026 for the same reason they failed before: one tiny shift spreads across hundreds of rows, and you notice only when customers try to buy.
Fresh 2026 Tips to Export Without Errors Ever Again
Export errors don’t usually come from one big mistake. They come from a pile of tiny ones that stack up. In 2026, the best fix is simple: control the file at every handoff, then validate before you import.
Think of your export like packing a moving truck. If you label boxes wrong, it still looks fine in the garage. But once you open doors at the new place, everything falls apart. That’s what happens when encodings shift, headers drift, or numbers get “helpful” formatting changes.
Here’s a fresh, practical set of tips that reduce failures across Shopify, Excel, Google Sheets, and QuickBooks, including multi-tool sync workflows.
Use a “template first” workflow, not a re-create-from-memory workflow
Stop rebuilding files from scratch. Instead, keep one golden template export that you know imported successfully. Then you edit a copy of it every time.
That template should include your exact header row, column order, and blank-column shape. Also, lock down the fields you never want to touch, like IDs, handles, SKUs, and tax settings.
When you update data in spreadsheets, treat each change like a controlled experiment:
- Make changes only in a working copy tab (for example,
Work). - Keep the original headers and column order untouched.
- Add new rows only in the same row pattern as your template.
This approach matters even more for Shopify variant exports, because one shifted column can place barcodes in the wrong field.
For Shopify-to-spreadsheet automation, use a tool that can preserve structure and reduce manual CSV reshaping. Coupler.io’s Shopify export workflow is a good example of how teams automate pulls instead of re-exporting by hand from different tools. See how to export Shopify orders in 2026 and Shopify to Google Sheets integration steps.
Force UTF-8 at the moment you save, then never “fix it later”
Encoding problems still cause the most confusing failures. One app reads é, the next app sees é, and the import breaks quietly.
The rule is straightforward: save as UTF-8 CSV at the end of your spreadsheet work. Don’t rely on whatever encoding Excel or Sheets decides by default.
A good habit is to standardize your “save cycle” like this:
- Export or generate your CSV.
- Open it in your spreadsheet tool.
- Make edits.
- Save using UTF-8 CSV.
- Validate, then import.
If you’re validating before QuickBooks import, use a tool that checks invoice structure first. Spreadsheet Broccoli offers a QuickBooks Online invoice CSV validator, which helps you catch bad columns early.
Small text changes can cause big import errors, especially around headers and special characters.
Delete blanks and stop hidden columns from “surviving” into your export
Blank columns are sneaky. You can’t always see them, but your export can still include them. Then the importer expects fewer columns, and it rejects the file.
Do this before every save:
- Delete any extra columns to the right of your real data.
- Clear hidden formatting-only cells that keep columns “alive.”
- Avoid merged cells (they can create shifted rows during import).
This also helps with QuickBooks, since its import UI often fails when the file structure doesn’t match what it expects. You’ll get fewer “file is invalid” loops.
Standardize dates and numbers like you mean it, not like you “prefer”
Dates and numbers get corrupted in two common ways: format drift and smart formatting.
- In spreadsheets, dates can turn into numbers internally.
- Codes like barcodes can lose leading zeros.
- Large values can switch to scientific notation (
1.23E+17), then imports fail or misread.
For dates, use one consistent format (for example, YYYY-MM-DD) across every row. For codes, treat them like text so zeros stay.
If you need help with code-preserving exports and bulk edits from Shopify spreadsheets, use a sync app designed for this workflow. eCommix is built for bulk spreadsheet edits and syncing without “CSV surgery” each time. Start with eCommix Google Sheets Sync on the Shopify App Store.
Validate early, then scale with 10 to 20 row tests
AI validation tools are getting better, and many teams now use them to catch a large share of issues before import. The most effective workflow looks like a two-step safety net:
- Run an automated CSV validation (or a quick cleaner) on the whole file.
- Import a small sample (10 to 20 rows) to confirm the mapping.
This catches problems that validators miss, like one bad row with an odd date or a barcode that includes a stray space.
AI validators and smart data tools can reduce failures a lot because they check structure, types, and missing fields before the importer sees the file. Many teams also pair validators with bulk apps (like Coupler.io or sync apps) so the spreadsheet edits stay aligned across tools.
Prefer bulk sync tools over manual “export, edit, re-export” loops
Manual loops create repeat errors. You export, you edit, you re-save, and you hope the next tool reads it the same way. That’s where mistakes creep in.
Bulk tools help because they enforce structure and reduce repeated conversions. They also keep your workflow consistent when you update data often.
For example, teams frequently use Shopify-to-spreadsheet sync setups to prep data, then sync changes back quickly instead of exporting a fresh CSV each time. eCommix’s focus on syncing and bulk edits makes this style easier to manage. If you want an overview, see eCommix for managing Shopify with Google Sheets.
When you shift from manual exports to a guided pipeline, you stop fighting encoding, header alignment, and row drift one failure at a time. Instead, you fix the workflow once, then let it run.
Conclusion
Export errors usually feel random, but they almost never are. Most failures come down to a few repeat issues, like UTF-8 encoding, mismatched headers, and formatting changes to dates, numbers, or leading zeros.
So use the same fix pattern every time. First, force UTF-8 when you save. Next, clean the file structure by removing blank columns (and any odd merged cells). Then test with a small batch import (10 to 20 rows) before you run the full Shopify, Excel, Google Sheets, or QuickBooks load.
In 2026, you can also reduce rework with validators and automation. Tools like Lasso Validator and Splitforge can flag encoding, delimiter, and header problems before an importer ever sees the file, and API-based sync tools like Coefficient can skip CSV pitfalls for some workflows.
Try one fix today on your next export: open the CSV in a text editor (check UTF-8), confirm headers match the import template, and import a small sample first. What error did you fix, encoding, dates, headers, or leading zeros? Smooth exports mean more time for growth, not more time rerunning the same file.